Maker Monday: Let’s try making our own watercolor paints from old markers
Ready for another Maker Monday activity? We’re back with another “Let’s Try” video, created by our friends at the Children’s Museum of Pittsburgh. We’re glad to kick off the week by bringing you this free maker activity.
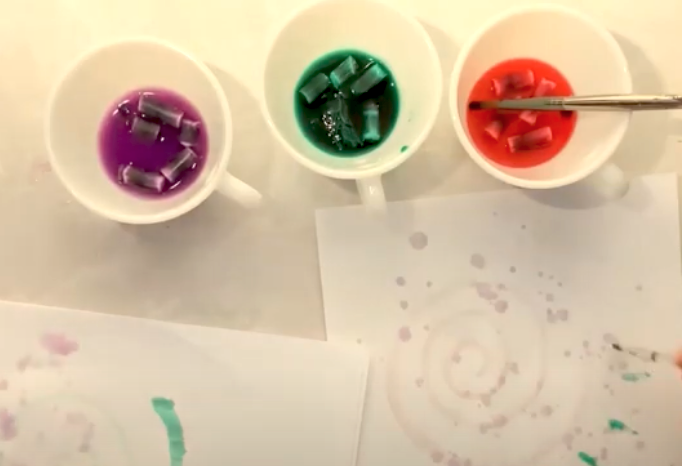
This week’s project will teach kids to make watercolor paints with items you probably have around the house.
You’ll find all the details on materials and instructions right here, and you can follow along on the video below to learn each easy step. A note to kid makers: Please work with a parent or caregiver on every project and always be very careful when using tools of any kind.
Maker Monday materials you’ll need:
- dried out washable markers
- scissors
- pliers
- 3 to 4 tablespoons of water for each color (in separate cups for each color of paint)
Instructions:
- Use the pliers to remove the felt tip of the marker. Drop the tip into one of your cups of water.
- Use the pliers to take off the “cap” to access the rest of the dried marker. (This piece may be on the bottom of the marker or may be on the top.)
- Use the pliers to pull out the foam insert inside the marker and use the scissors to cut it into pieces.
- Drop those pieces into the cup where you put the marker tip.
- Repeat this process with as many old markers as you want.
- Be creative! You can mix different color marker pieces together in one cup to create unique colors.
- Let your paints sit for 5 to 10 minutes to create strong colors.
- Now have fun: Get. some paper and paint brushes and try your new paint!
Quick Maker Monday tip: If the paints dry out overnight, just add some more water the next day.
Want more at-home fun making beautiful things? Check out more Maker Monday videos from Kidsburgh and the Children’s Museum.
Related Stories
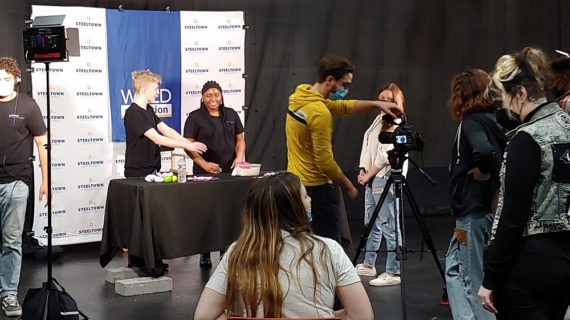
With $15,000 grant, WQED Steeltown Film Academy develops content for kids, created by kids
Everything you need to know about the 2022 EQT Children’s Theater Festival, coming this weekend

12 summer camps in Pittsburgh for arts-loving kids

Book-loving kids, from tots to teens, will find their bliss at the free Pittsburgh Festival of Books
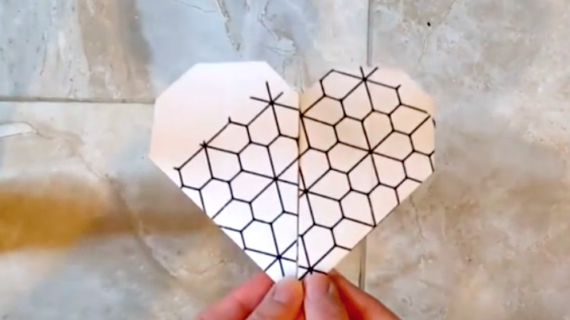
Maker Monday: Let’s Try Making Origami Hearts (all you need is paper and scissors)
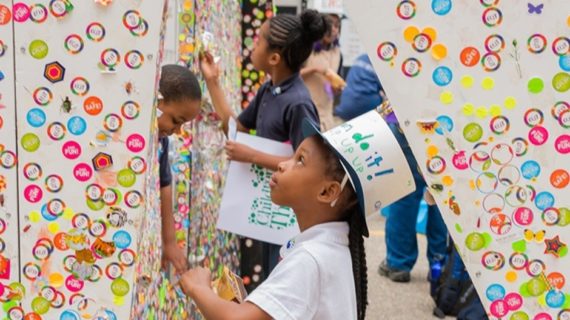
Remake Learning Days runs through May 23 with more than 175 hands-on learning events
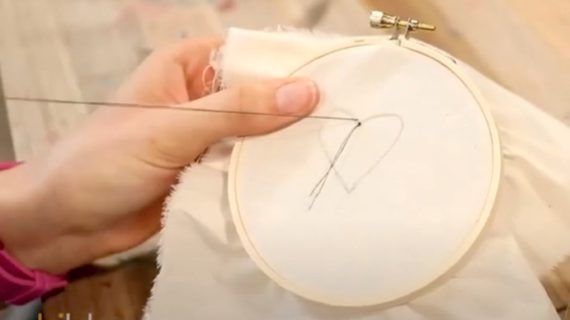
Maker Monday: Let’s Try Embroidery
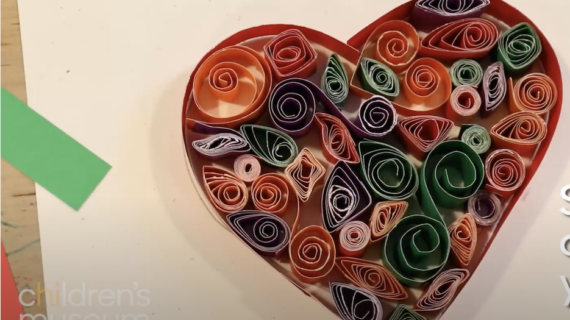
Maker Monday: Let’s try quilling with this easy video
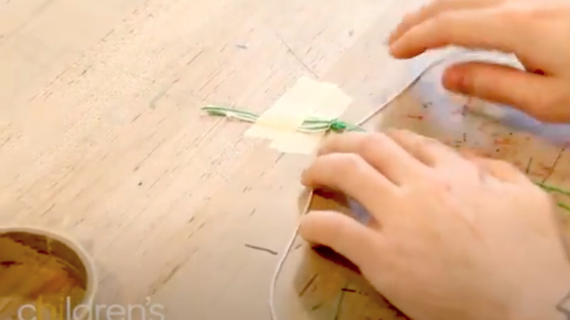
Maker Monday: Let’s try tying knots to make a bracelet
Maker Monday: Let’s try basic weaving (just follow this easy video)
Maker Monday: How to make beautiful paper beads
Maker Monday: Let’s Try Building With Cardboard!
