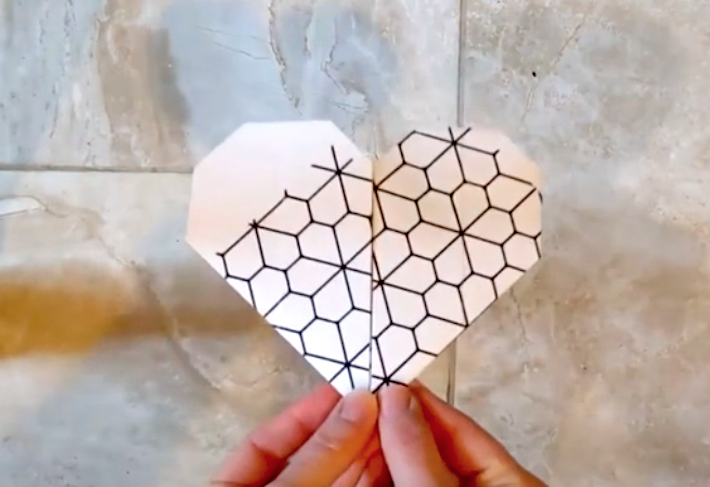
Maker Monday: Let’s Try Making Origami Hearts (all you need is paper and scissors)
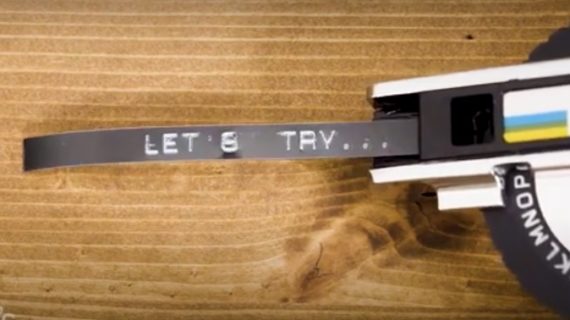
Welcome to May’s first Monday. We’re back with another installment of our Maker Monday “Let’s Try” videos, created by our friends at the Children’s Museum of Pittsburgh. We’re glad to bring you this free maker activity.
This week’s project will get kids started learning the art of origami. You’ll find all the details on materials (just paper and scissors) and instructions right here, and you can follow along on the video below to learn each easy step. A note to kid makers: Please work with a parent or caregiver on every project and always be very careful when using tools of any kind.
Maker Monday materials you’ll need:
- any kind of paper (scraps you have around the house are great, and they can be colored or patterned or plain)
- scissors
Instructions:
- If your paper is rectangular, start by folding and cutting it into a square. To do that, take one corner of your square paper and fold it down so that it aligns with the bottom of the paper. Fold in the leftover rectangle piece and press down with your finger, then flip the paper over and fold that piece in the opposite direction, making a crease. Then take your scissors and cut along the crease you just made. Now you have a square.
- Fold and unfold the square in half diagonally both ways to create more creases. Do this several times.
- Then fold the tip of one corner to the mid-point of the square, making another crease.
- Take the tip of the bottom corner and bring it to the now flat top, and again make a crease.
- Now fold half of the bottom edge diagonally up to the middle of the top. Make a crease.
- Repeat that on the opposite side.
- Flip your paper over and fold down the top two corners.
- Fold in the last two corners on the sides.
- Flip the paper back over to see your origami heart!
Want more at-home fun making beautiful things? Check out more Maker Monday videos from Kidsburgh and the Children’s Museum.
Related Stories
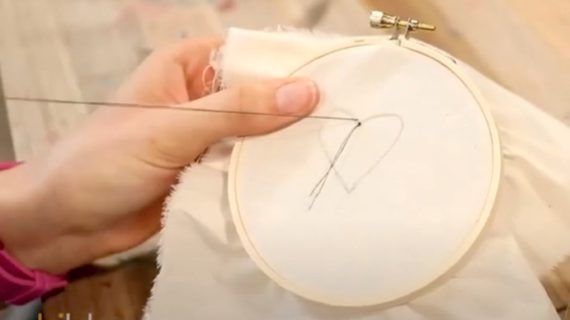
Maker Monday: Let’s Try Embroidery
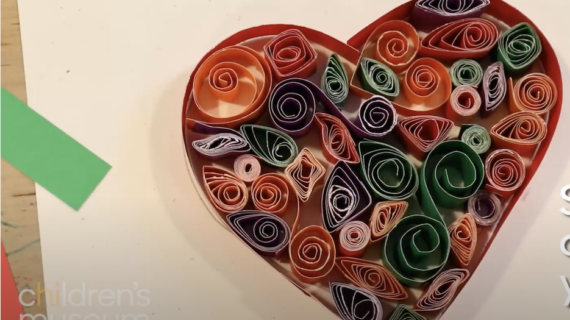
Maker Monday: Let’s try quilling with this easy video
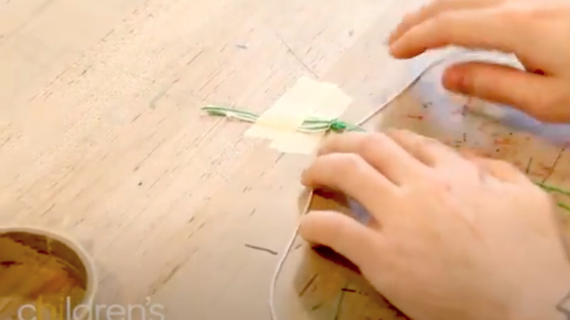
Maker Monday: Let’s try tying knots to make a bracelet
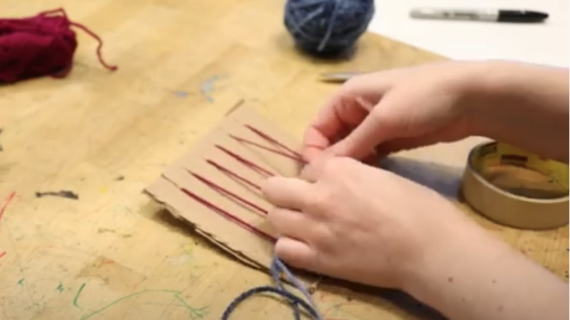
Maker Monday: Let’s try basic weaving (just follow this easy video)
Maker Monday: Let’s Try Building With Cardboard!
Maker Monday: How to make beautiful paper beads
Kidsburgh Learning Guide: Making the most of maker learning
Worried about summer slide? These 11 Pittsburgh programs will prevent brain drain in your kids
