Maker Monday: Let’s Try Embroidery
Happy Monday, Kidsburgh readers! We’re back with another installment of our Maker Monday “Let’s Try” videos, created by our friends at the Children’s Museum of Pittsburgh. We’re excited to bring you this free maker activity.
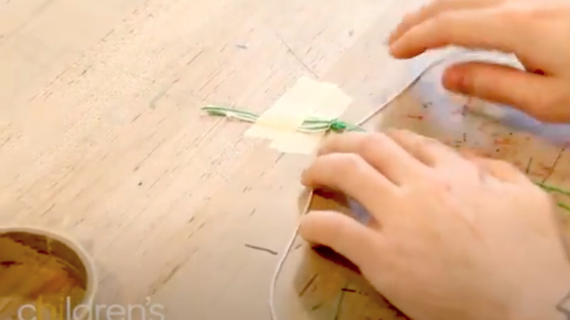
This week’s project will get kids started learning embroidery. You’ll find all the details on materials and instructions right here, and you can follow along on the video below to learn each easy step. One thing to note: Although we normally post Maker Monday projects that can be done entirely with items you’re likely to have around the house, this project requires one particular item you may not have — an embroidery hoop. These are available for just a couple of dollars at Michael’s, Joann or via Amazon.
A note to kid makers: Please work with a parent or caregiver on every project and always be very careful when using tools of any kind.
Maker Monday materials you’ll need:
- embroidery hoop
- needle
- thread
- pencil
- a piece of fabric (cotton, linen or muslin)
Instructions:
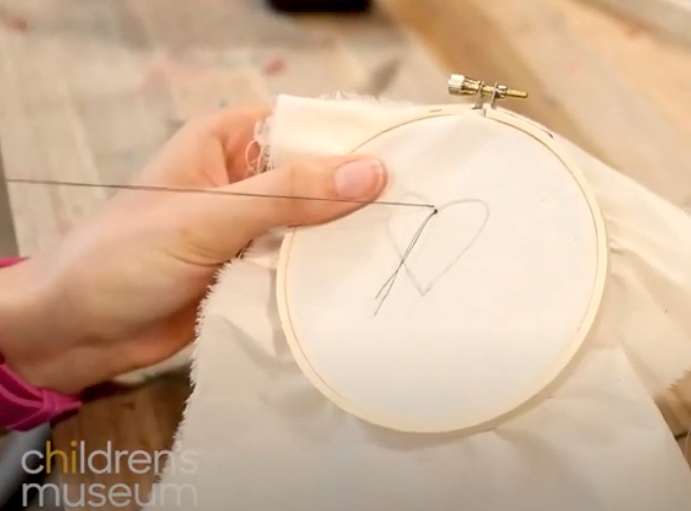
- Press your fabric between embroidery hoop rings and tighten, like creating a drum
- Draw your design on the fabric with your pencil
- Thread the needle and tie a knot at the end of the thread
- Sew your design by pushing the needle through the fabric and pulling until it reaches the knot.
- Then repeat through the back of the fabric, continuing until the design is complete.
- When the design is complete, use scissors to cut the excess thread from the knot on the front.
- Tie a knot on the back of the fabric and cut the excess thread from there.
- Then remove the fabric from the embroidery ring.
Want more at-home fun making beautiful things? Check out more Maker Monday videos from Kidsburgh and the Children’s Museum.
Related Stories
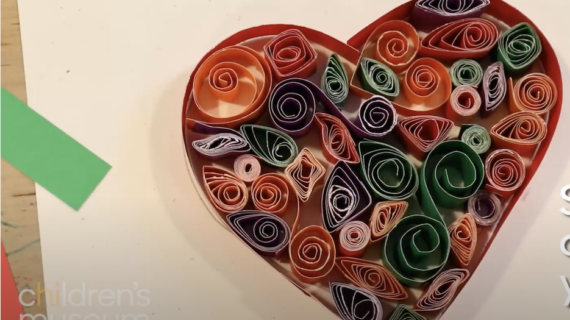
Maker Monday: Let’s try quilling with this easy video
Your teen is invited to the Pittsburgh Youth Climate Action Summit. Details here on this free event.
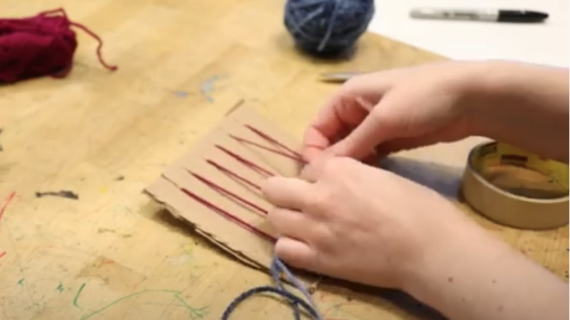
Maker Monday: Let’s try basic weaving (just follow this easy video)
Maker Monday: Let’s Try Building With Cardboard!
Maker Monday: Let’s try tying knots to make a bracelet
Kidsburgh’s 2022 Pittsburgh Playgrounds and Parks survey: Tell us about your favorites

How families can use Kids of STEEL and inspiration from the Pittsburgh Marathon to be healthy and have fun
