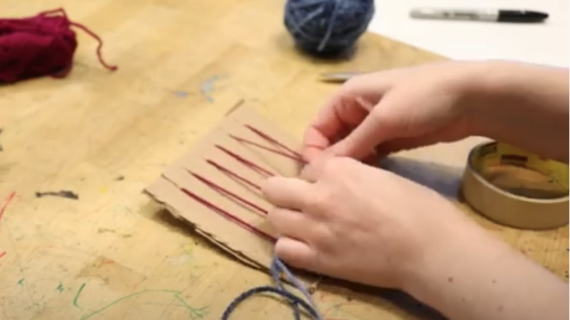
Maker Monday: Let’s try tying knots to make a bracelet
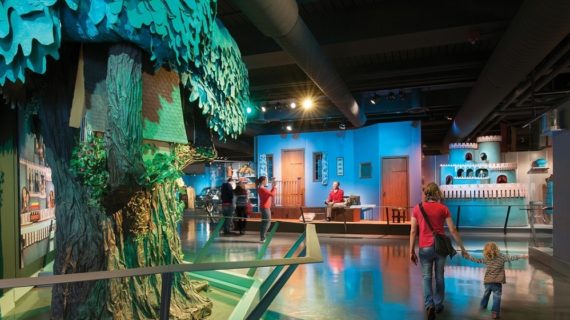
Happy Monday, Kidsburgh readers! We’re back again this week with another “Let’s Try” video from our friends at the Children’s Museum of Pittsburgh, as part of our ongoing Maker Monday series. We’re excited to bring you this free maker activity.
This week’s project teaches kids how to make beautiful bracelets simply by tying knots. You’ll find all the info on materials and instructions right here, and you can follow along on the video below to learn each easy step.
A note to kid makers: Please work with a parent or caregiver on every project and always be very careful when using tools of any kind.
Maker Monday materials you’ll need:
- tape
- 2 pieces of white string
- 2 pieces of colored string
Instructions (you’ll also see them in the video):
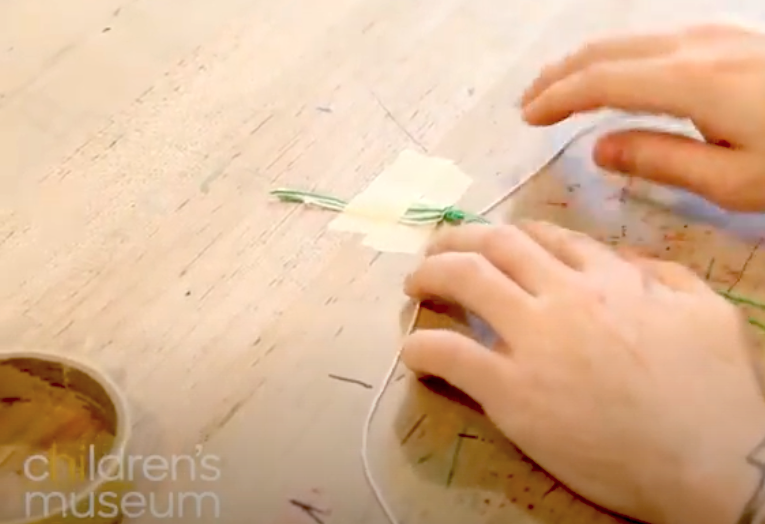
- Line up the ends of the four pieces of string and tie them in a slip knot (see video).
- Tape down the knotted end of the strings.
- Place the colored pieces of string to the left and right of the white strings.
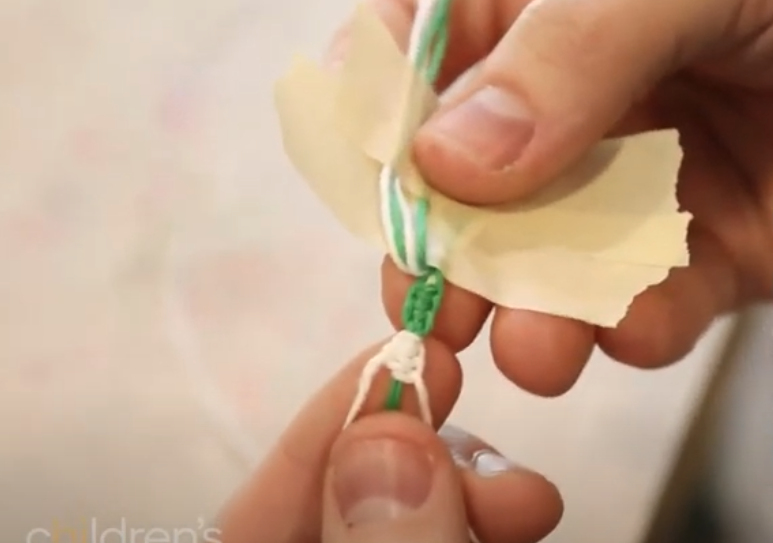
- Place the left colored string on top of the white strings in a triangle shape.
- Pull the end of the string through the triangle, under the white strings.
- Repeat this process with the colored string that’s on the right side.
- Continue doing this until you reach the desired length of colored string.
- Then switch the placement of the white and colored strings (move white to outside).
- Repeat the same process as before, using the white strings.
- Continue until you reach the length you would like your bracelet to be.
Related Stories
Kidsburgh Learning Guide: Making the most of maker learning
Maker Monday: Let’s Try Building With Cardboard!
Don’t miss these 8 sensory-friendly programs for kids in Pittsburgh
Maker Monday: Let’s try basic weaving (just follow this easy video)
Think green! 11 groups connect Pittsburgh with Earth Day events throughout April
Kidsburgh Learning Guide: All about art

5 Pittsburgh-area programs for girls who want to make history
Maker Monday: How to make beautiful paper beads
It’s here! Our 2022 guide to summer camps around Pittsburgh
Kidsburgh Learning Guide: Discovering the joy of outdoor learning
5 ways parents can combine reading with play, an essential part of learning
