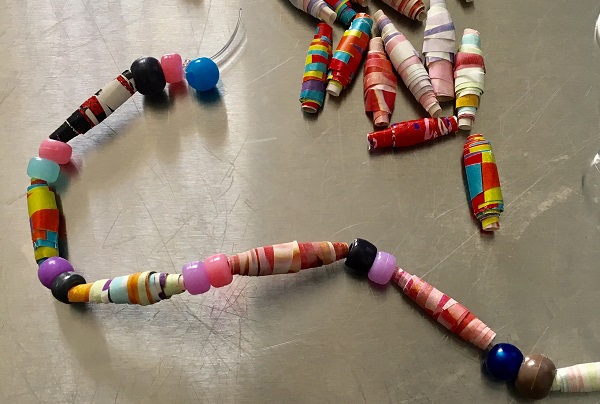
Maker Monday: easy, colorful paper beads
We’ve got another fun Maker Monday project for you, Kidsburgh families. With these easy-to-follow steps, little ones can make stylish beads in a multitude of colors and patterns with materials you may have around the house or can pick up at a craft store, big box store or online.
This Maker Monday project helps kids develop small motor skills, promotes problem-solving, and provides a creative outlet for budding artists and crafters. And the results are lovely!
(Don’t worry if your wrapping paper is leftover from Christmas, Valentine’s Day, or a baby shower. Once you make the bead, the paper creates such a unique pattern that you won’t be able to tell what the original paper design may have been.)
A note to kid makers: Please work with a parent or caregiver on this Maker Monday project and always be very careful when using tools of any kind.
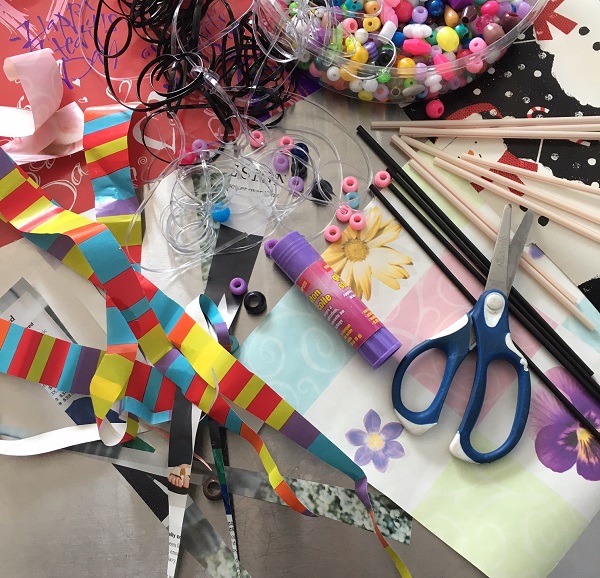
Maker Monday supplies you’ll need:
- wrapping paper scraps (or pages from old magazines or catalogs)
- a ruler or straight edge
- a pencil
- scissors
- a coffee stirrer or other small stick
- glue stick
- stretchy cord
- assorted plastic beads (optional)
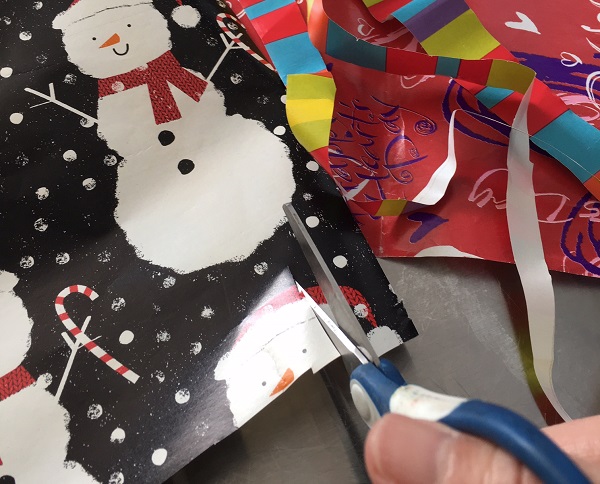
Step 1: On a sheet of paper, draw very long triangles. Each one should have a base of about 1 inch wide and get thinner as it goes up at least 12 inches to the pointy end. The longer and skinnier the triangle, the fatter your finished beads will be. Then, using your scissors, cut out the long triangles that you drew on the paper. Don’t worry if your triangles don’t come out perfectly straight.
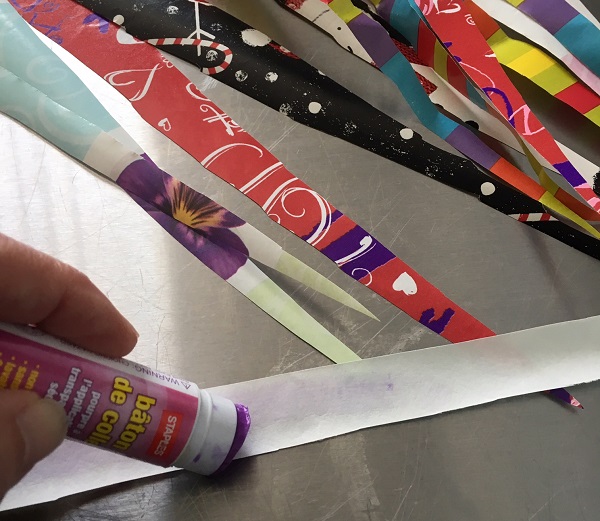
Step 2: Using a glue stick, swipe the back of one long paper triangle with the glue.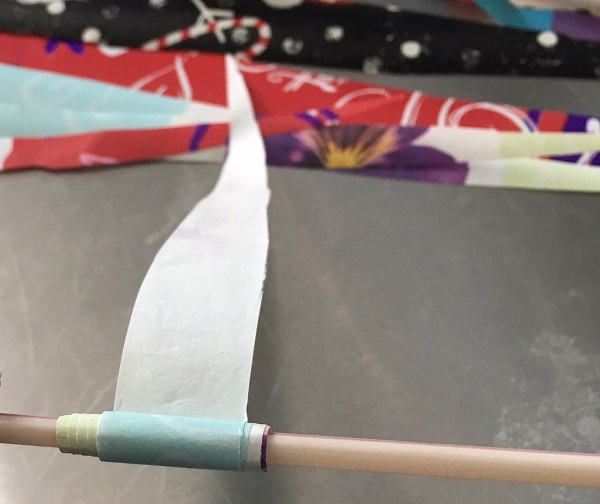
Step 3: Beginning with the base of the triangle, wrap the paper around the end of the coffee stirrer. Keep wrapping very tightly until you reach the long pointy end. That will be your first paper bead.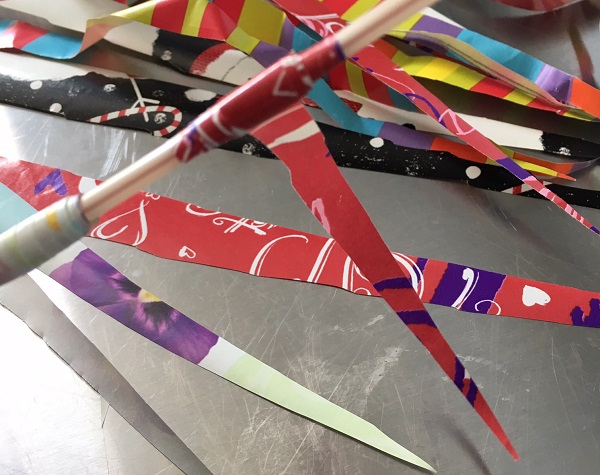
Step 4: Continue alongside the first bead with additional paper triangles done with the same steps: Put glue on the back of the paper and then wrap it tightly along the coffee stirrer or other little stick you’re using. You can probably fit three or four side by side on each coffee stirrer. It’s fun to see the new patterns emerging from the different paper prints! 
Step. 5: Once the glue has dried, use your scissors to snip the coffee stirrer at the end of each bead you have made.
Step 6: Thread your paper beads onto the stretchy cord. If you like, you can add plastic beads in between your paper beads for added color and texture. Then tie up the cord at the end to make a bracelet or necklace, or hang up your creation as a decoration.
Want more at-home fun creating cool stuff and making beautiful things? Check out more Maker Monday projects right here.
Do you have an idea for a Maker Monday craft project? If so, please share it with Kidsburgh! Send your maker activities to info@kidsburgh.org.
Related Stories
Maker Monday: Let’s try making pennants
Maker Monday: Let’s try making sock puppets
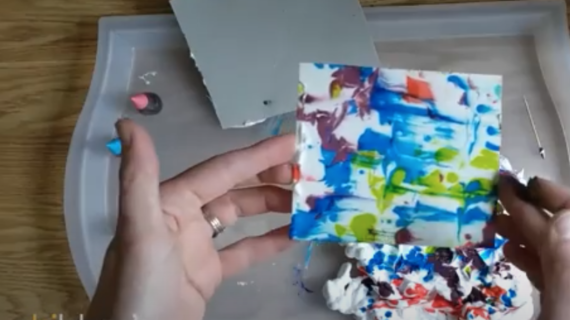
Maker Monday: Let’s make shaving cream prints

Maker Monday: How to create a homemade poetry card game
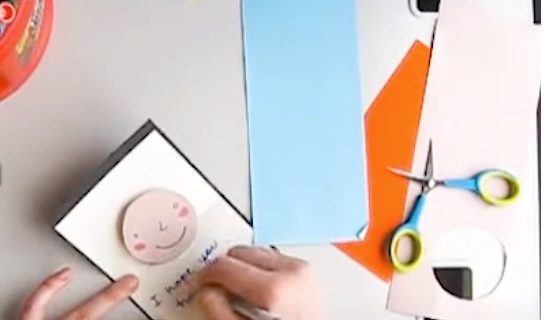
Maker Monday: Let’s try making pop-up cards
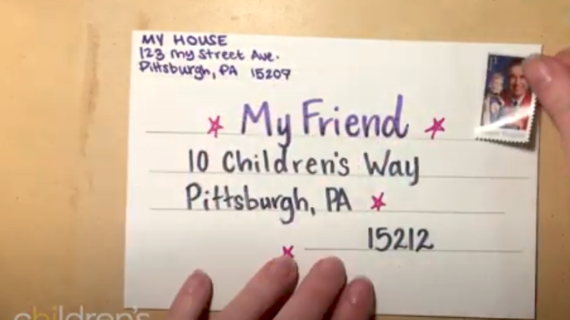
Maker Monday: Let’s try addressing an envelope
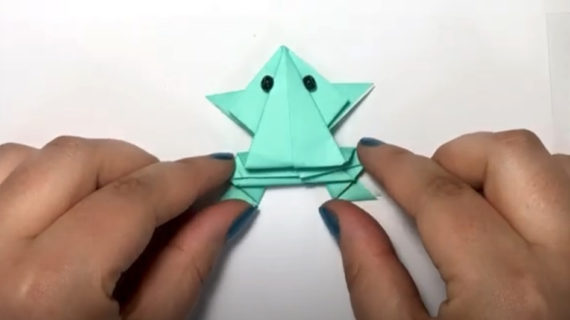
Maker Monday: Let’s make origami frogs
Maker Monday: Let’s try making our own watercolor paints from old markers
Maker Monday: Let’s Try Making Origami Hearts (all you need is paper and scissors)
Maker Monday: Let’s make “t-shirt yarn”
