Maker Monday: Pretty paper water lilies will ‘bloom’ when kids put them in water
Spring is finally here and flowers are slowly emerging around the Pittsburgh region. This week’s Maker Monday project brings summer color to life in anticipation of the warm, sunny days ahead. These “blooming water lilies” are fun and easy to make. Once kids create them, they can place their paper flowers in a shallow bowl of water and watch them open right before their eyes.
You can use plain white paper colored with markers or go for fun colored paper. One exciting aspect of using white paper and markers is that the color slowly seeps into the water, giving the effect of natural pond water. So have fun and see what happens. We know from experience that clever kids will take the basic idea below and add their own spin to their creations.
As with all Maker Monday projects, kids can do this with materials you have around the house or can pick up at a nearby dollar store. Just follow the step-by-step instructions below. A note to kid makers: Please work with a parent or caregiver on this Maker Monday project and always be very careful when using tools of any kind, including scissors.
Maker Monday Materials:
- paper (white or colored)
- markers
- scissors
- a shallow bowl
- water
Maker Monday Instructions:
Step 1: Find some circular objects to trace to make your water lilies. We used small pot lids, cups and a very small glass. For each water lily, trace two circles that are about four inches in diameter, then cut them out.
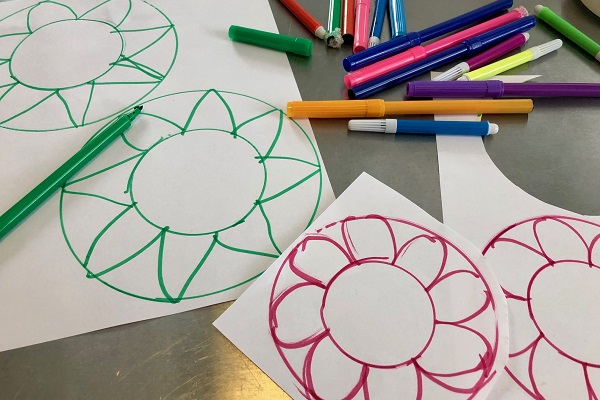
Step 2: Trace a smaller circle in the center of each paper circles you cut out. Then draw the leaves around the small circle on one paper and draw petals around the small circle on the other paper.
Step 3: Color your leaves green. Color your flower petals any shades you like and also color in the small circle inside the petals. If you wish, you can use a Sharpie to add definition to the leaves and the center of the flower. 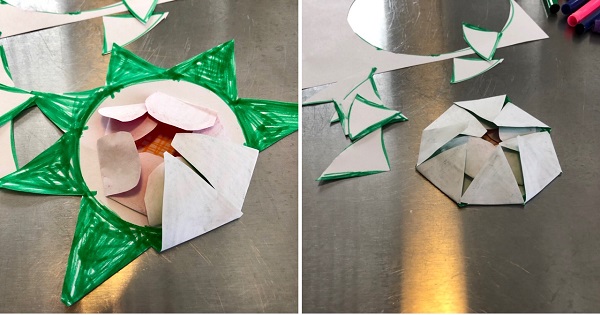
Step 4: Next, cut away the paper around edges of the petals and the leaves, so you have spiky leaves sticking out and rounded flower petals visible.
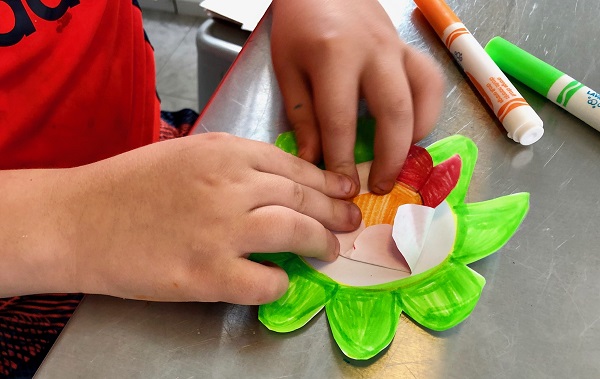
Step 5: Place the two circle with the flower petals face up on top of the circle with the leaves. Then begin folding the petals in along the edges of the small circle. Next, fold in the leaves right on top. (See above.)
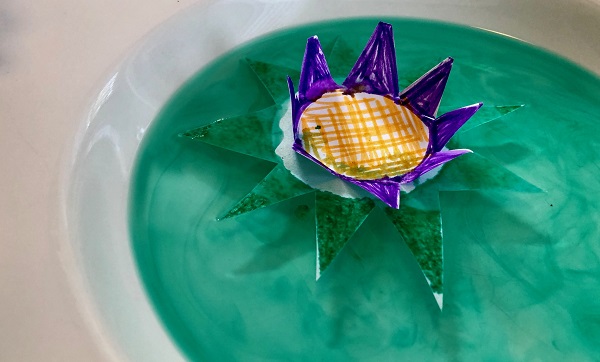
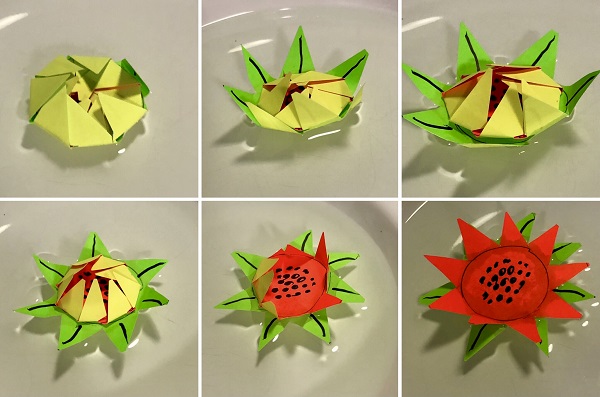
Step 6: Place the folded water lilies into a shallow bowl of water. As the paper slowly absorbs water, the folded leaves will open, and then slowly the folded petals will open, too. The water may also soak up some of the marker ink, making the water an interesting color.
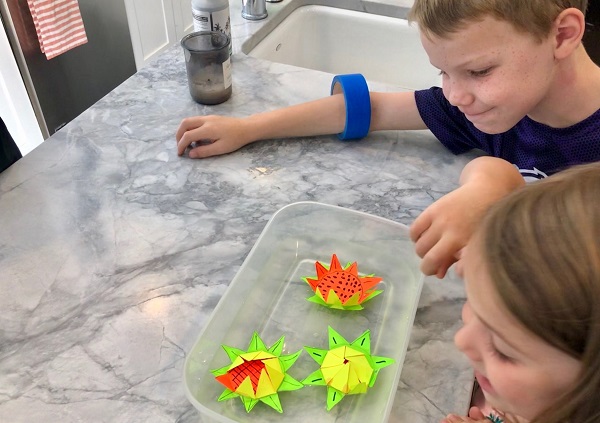
Want to do it again? Once the flowers are fully bloomed, you can remove them from the water and set on a paper towel to dry and bloom again!
Want more at-home fun creating cool stuff and making beautiful things? Check out more Maker Monday projects right here.
Do you have an idea for a Maker Monday craft project? If so, please share it with Kidsburgh! Send your maker activity ideas to info@kidsburgh.org.
Related Stories

Maker Monday: Kids can make a no-sew pillow celebrating their favorite sports team

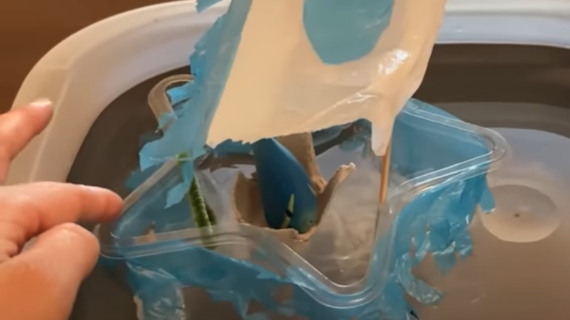
Maker Monday: easy, scented bath bombs

Maker Monday: Kids can make easy soft pretzels (and practice math along the way)
Maker Monday: Kids will love (and learn from) the Exploding Sandwich Bag experiment
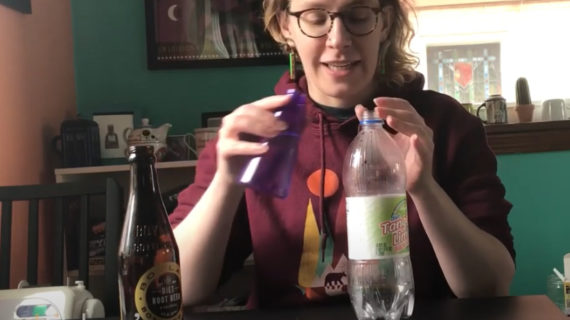
Maker Monday: Kids of all ages can have fun with the ‘Amazing Milk Experiment’
Maker Monday: DIY scratch ‘n sniff paint
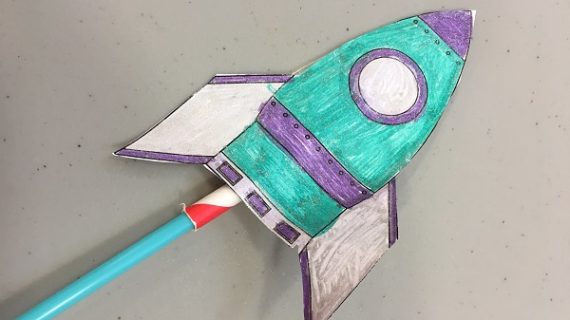
Maker Monday: Kids can make this rocket launcher from paper and straws
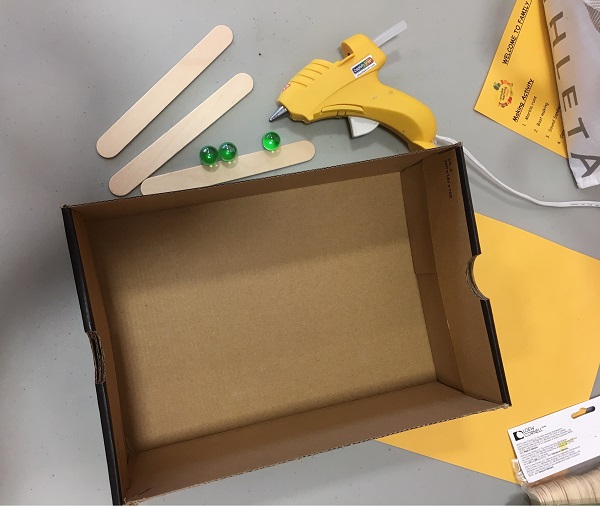
Maker Monday: Gravity Maze
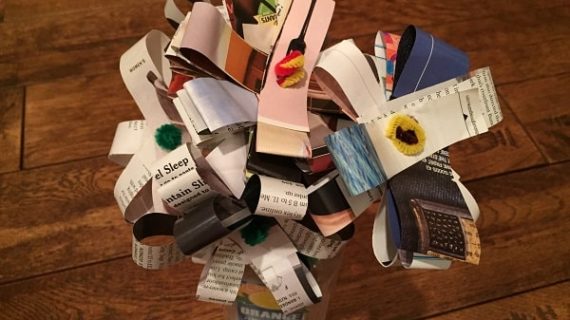
Maker Monday: make beautiful paper flowers from recycled magazine pages
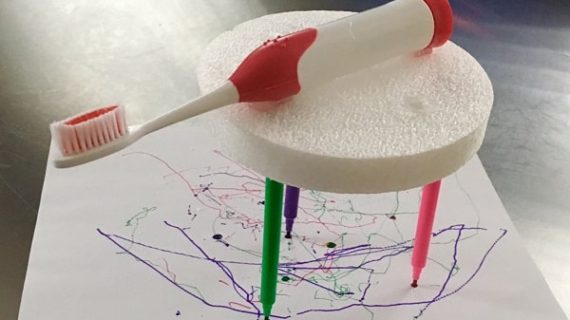
Maker Monday: Build a DIY robot that draws pictures!

Maker Monday: Let’s make marshmallow pops
Maker Monday: Let’s try making boats that float
Maker Monday: Let’s make wind instruments
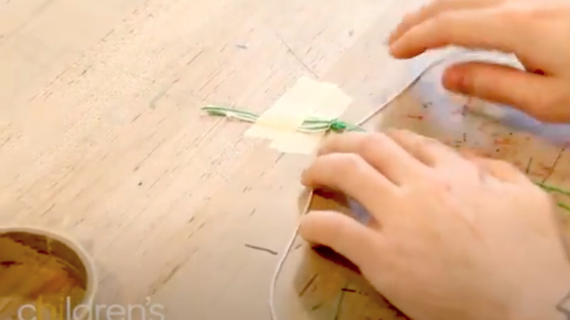
Maker Monday: Kids can make beautiful bracelets by simply tying knots
