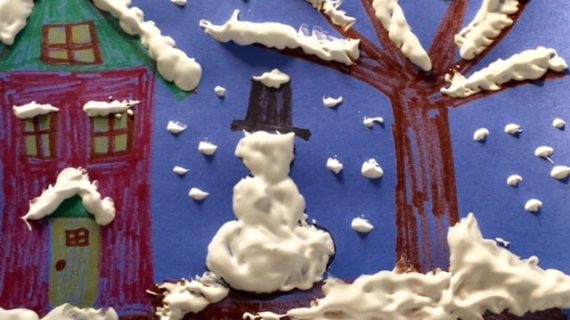
Maker Monday: Kids will love ‘salt painting’
At Kidsburgh, we love creating art with a variety of methods and media. This week, we experiment with “salt painting.” This inexpensive project uses just a few ingredients that you may already have or can pick up at a dollar store: salt, glue and watercolor paints.
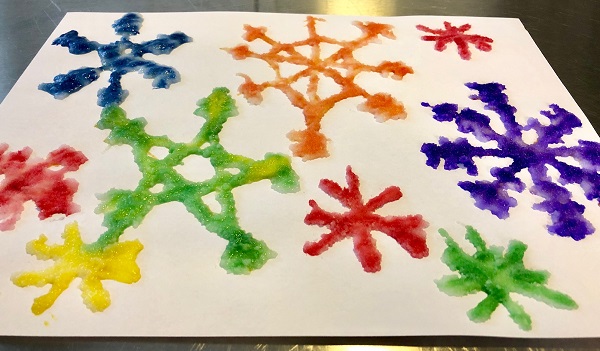
We went with snowflake designs because we love how the salt adds shimmer and shine to a winter-themed picture. But kids can create any kind of original design. An underwater scene, for example, could look very cool.
This project is fun and easy for kids of all ages. Just follow the step-by-step instructions below. A note to kid makers: Please work with a parent or caregiver on this Maker Monday project. Though this project doesn’t involve tools, always be careful when using tools of any kind, including scissors.

Maker Monday materials:
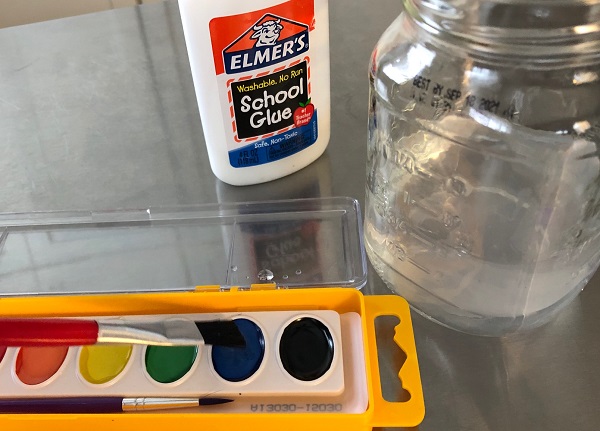
- salt
- watercolor paints
- glue
- a pencil, pen or marker to sketch your design
- paper
- a small paint brush
- optional: a cookie sheet to use as a work surface to make cleanup easier
Maker Monday instructions:
STEP 1: Drop a bit of water onto your paints so they begin to turn from solid to liquid. You want them to be very wet when it comes time to do the painting. (You will continue to add water as you work.)
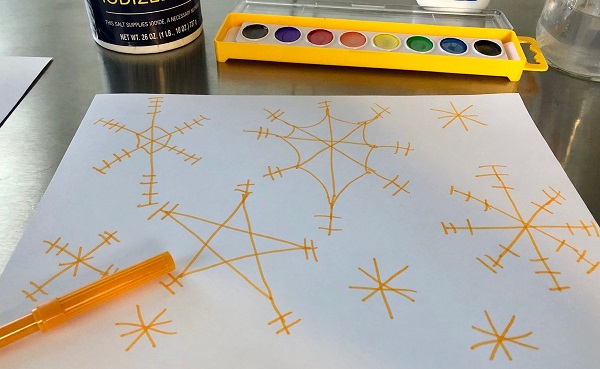
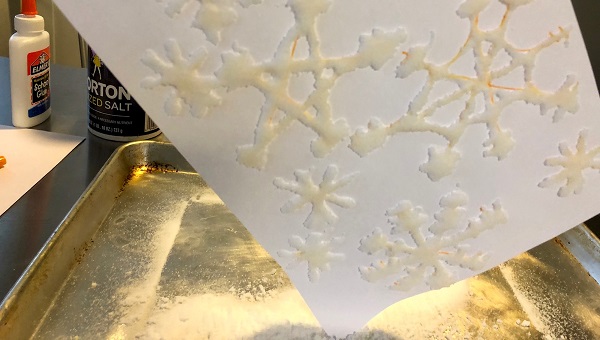
STEP 2: Sketch your design onto your paper.
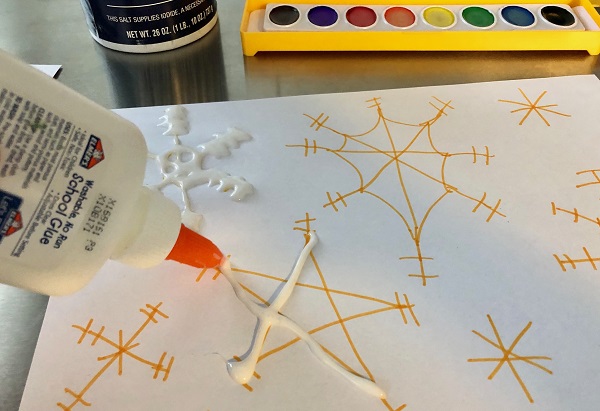
STEP 3: Use the glue to slowly trace over the lines you have drawn. (Take your time, and it’s ok if it gets a little bit messy.)
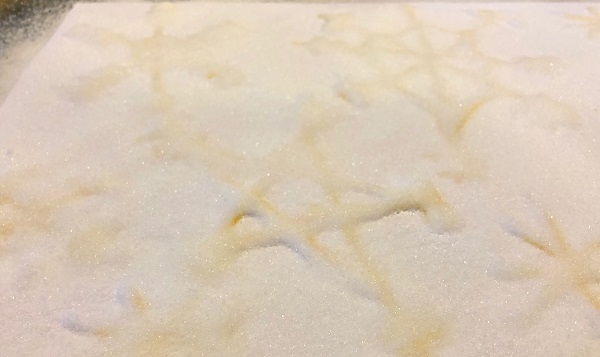
STEP 4: Now we add the salt. You want to use a lot — not just a sprinkle — to cover all sides of the glue. You practically bury the glue in salt. (Note: We did this step with our paper on a clean, dry cookie sheet to prevent salt from spilling out on the floor and make cleanup easier.)
STEP 5: Pick up the paper by a corner and gently shake it, so that the extra salt comes off. (Look at how pretty the snowflakes look already!)
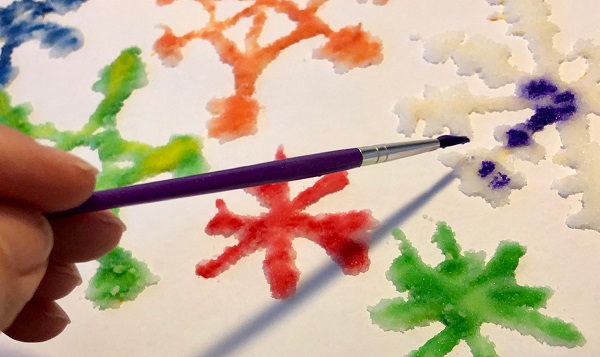
STEP 6: Make sure your paint is very wet. Dip your paint brush into the very wet paint and let some drop onto the salt. The paint will quickly soak into the salt and spread through it. Continue to add water to the paint as you go, so that it drips off the paintbrush easily. (It’s OK if some paint drips onto your paper. That can be part of your design!)

STEP 7: When your artwork is dry, hang it up for your family to enjoy. (And while it’s drying, you can make more pictures!)
Want more at-home fun creating cool stuff and making beautiful things? Check out more Maker Monday projects right here. Do you have an idea for a Maker Monday craft project? If so, please share it with Kidsburgh! Send your maker activity ideas to info@kidsburgh.org.
Related Stories
Maker Monday: Easy pop-up Valentine’s Day cards
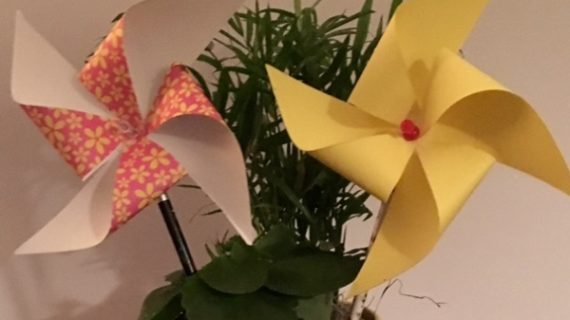
Maker Monday: Kids can make these beautiful pinwheels
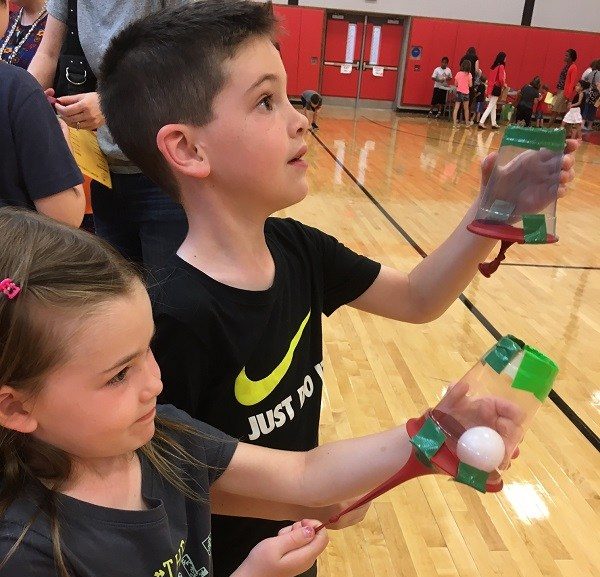
Maker Monday: Kids will love making (and playing with) Ping-Pong Ball Poppers
Maker Monday: Let’s make puffy snow paint
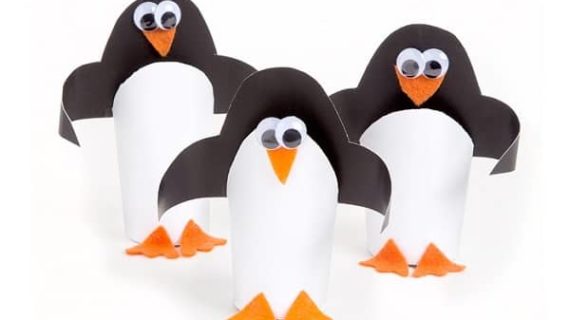
Maker Monday: Let’s make cardboard penguins!
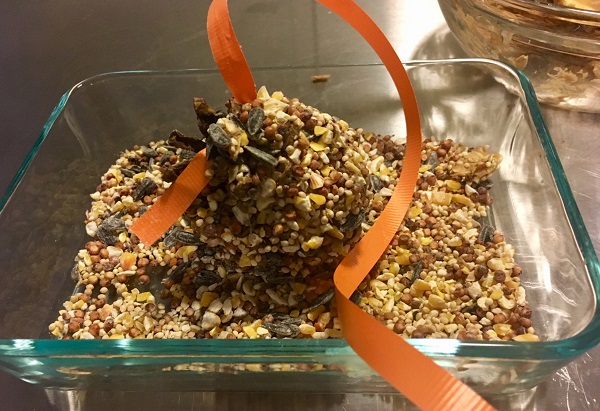
Maker Monday: Kids can make a pinecone bird feeder
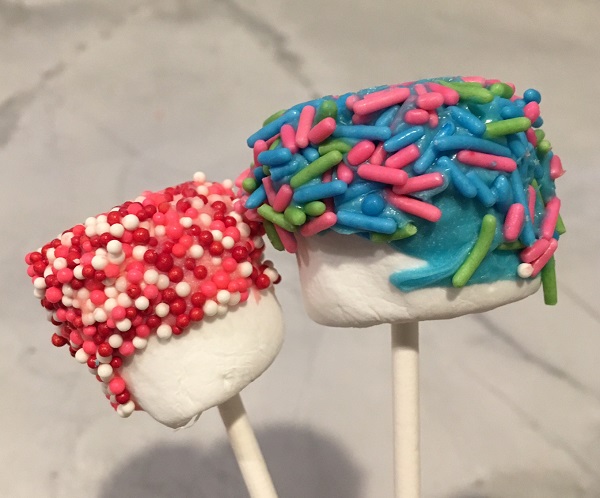
Maker Monday: Let’s make marshmallow pops
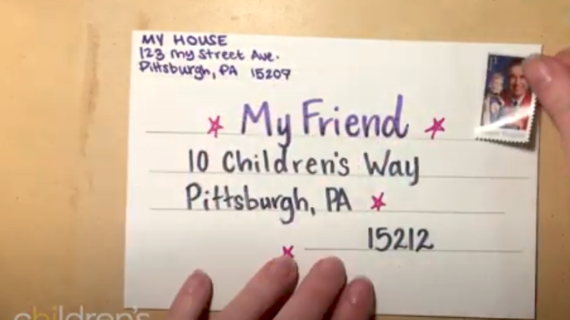
Maker Monday: Let’s try addressing an envelope

Maker Monday: How to create a homemade poetry card game
Maker Monday: Let’s try making pennants
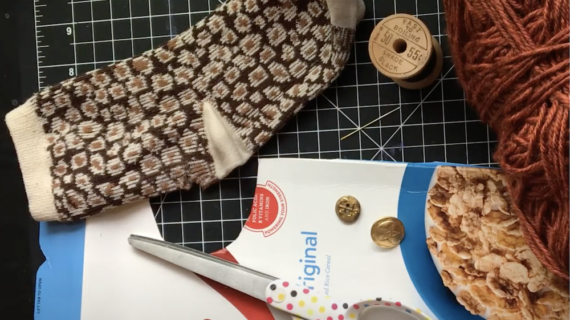
Maker Monday: Let’s try making sock puppets
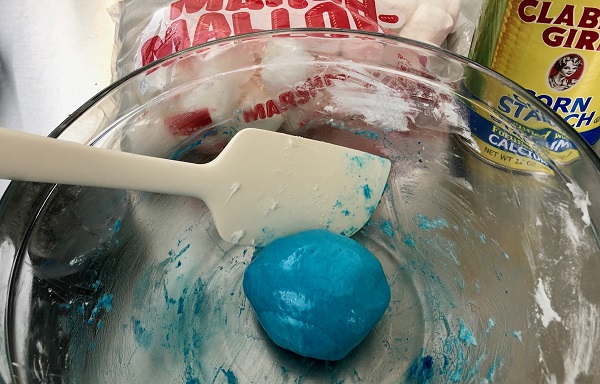
Maker Monday: Make your own homemade marshmallow play dough
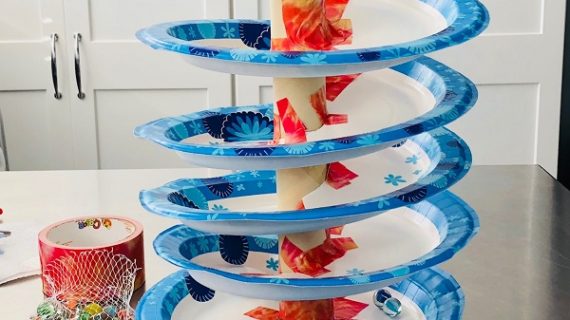
Maker Monday: kids can create their own super-fun marble run
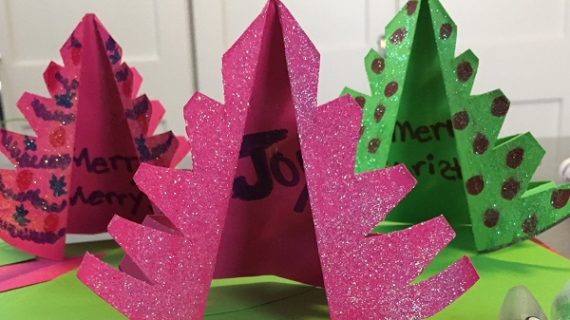
Maker Monday: kids can make easy, sparkling winter trees
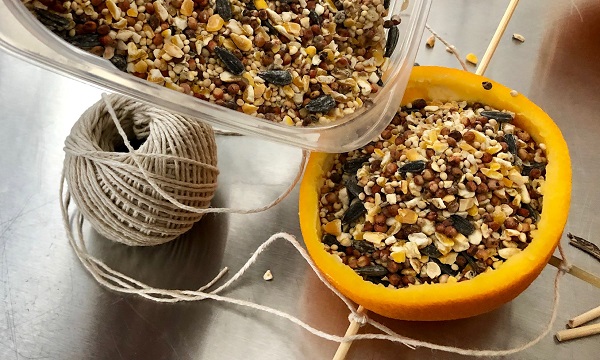
Maker Monday: Fun, easy orange peel bird feeders
