Maker Monday: Kids can make beautiful foam prints
This Maker Monday printmaking activity is great for kids of all ages: With a few basic supplies and their own creativity, younger kids can draw something simpler while older kids can make intricate images.
To do this foam printing Maker Monday project, we used styrofoam plates. But you can also use the top of a styrofoam egg carton. Even the back of styrofoam trays throughly washed from packages of meat and poultry can be used. (Just be sure to give them a really good wash with hot, soapy water first.)
These prints can be cool pieces of art on their own, or they can be sent to family as handcrafted greeting cards.
All the supplies for this Maker Monday project are items you may have around the house or can buy at a dollar store. A note to kid makers: Please work with a parent or caregiver on this Maker Monday project and always be very careful when using tools of any kind.
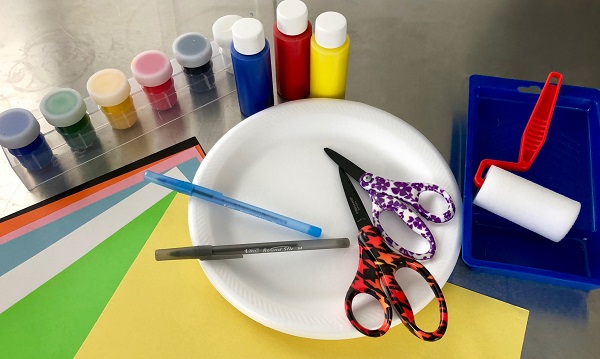
Maker Monday materials you’ll need:
- styrofoam plates or top of a styrofoam egg carton (see note above)
- water-based paints
- paper
- a foam roller
- scissors
- a ballpoint pen
Maker Monday instructions:
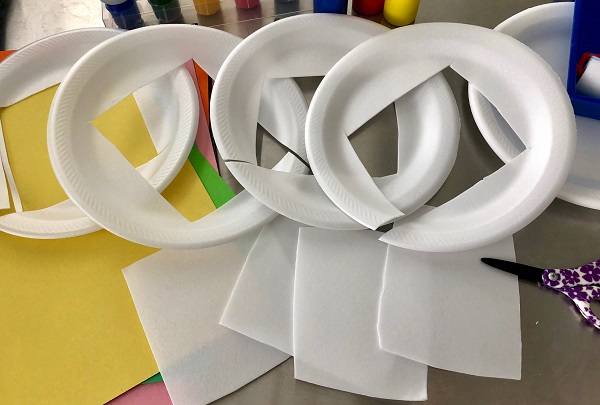
STEP 1: Cut a square from each plate for every picture or design you would like to print. They can be any size you wish.
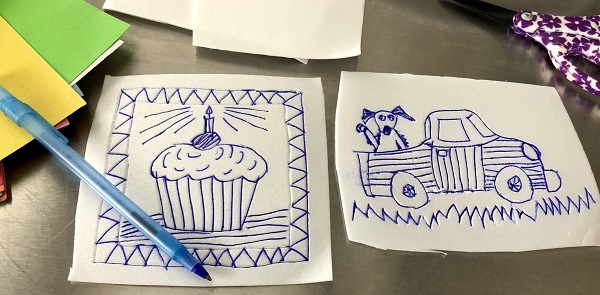
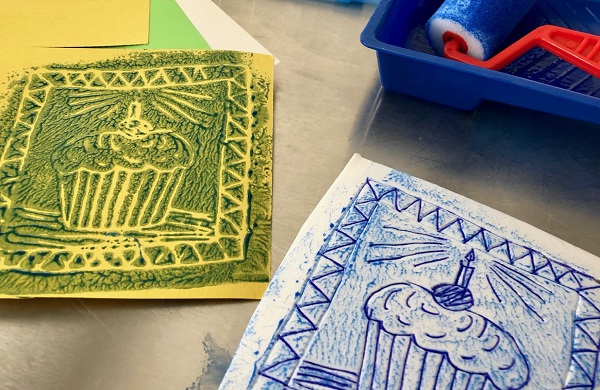
STEP 2: Draw your picture or design with a ballpoint pen on a piece of foam, pressing down into the foam to make an indentation with every line. Remember: the flat surface is the part that will hold the paint. The indentations will make up the picture, so you will want to use stripes or dots for shading for your print instead of solidly coloring it in.

STEP 3: Pour a bit of paint onto a plate or into a roller pan. Put some paint on your roller, then roll the paint lightly onto the foam square (see above).
STEP 4: Place the foam on a flat surface, then place a piece of paper on top of the foam square, slowly pressing it flat with your fingers all over to transfer the paint onto the paper. Go slowly and be careful not to shift the paper while you work.
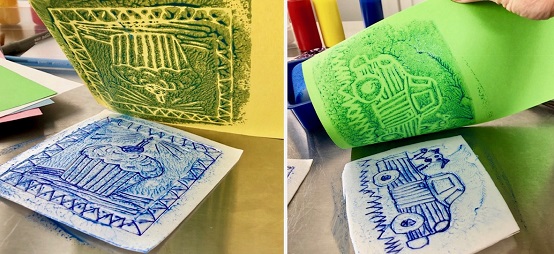
STEP 5: Carefully peel back the paper to reveal your print. If your first try doesn’t come out looking the way you’d like, no worries! Keep experimenting. You can put on a bit more paint and try again with a fresh piece of paper. And you can reuse the foam by rinsing off the paint with water and drying it, then putting on a different color of paint.
Kids can experiment with different colors of paint or different types of paper, as long as they wash the paint from the foam in between uses to prevent paint from filling in the indentations.
Want more at-home fun making beautiful things? Check out more Maker Monday projects right here.
Do you have an idea for a Maker Monday craft project? If so, please share it with Kidsburgh! Send your maker activities to info@kidsburgh.org.
Related Stories
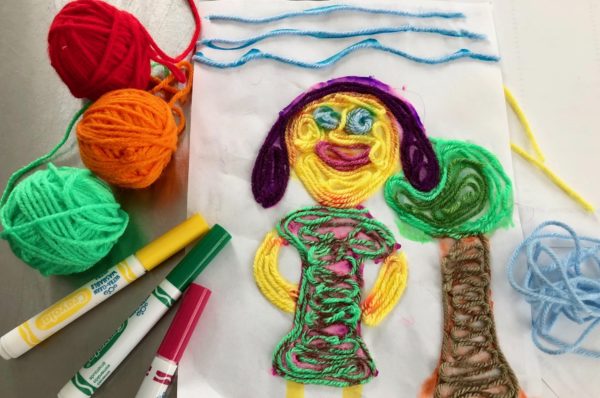
Maker Monday: Kids will love creating yarn art
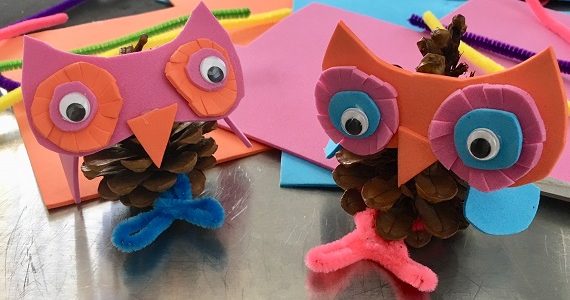
Maker Monday: Kids can make adorable pine cone owls
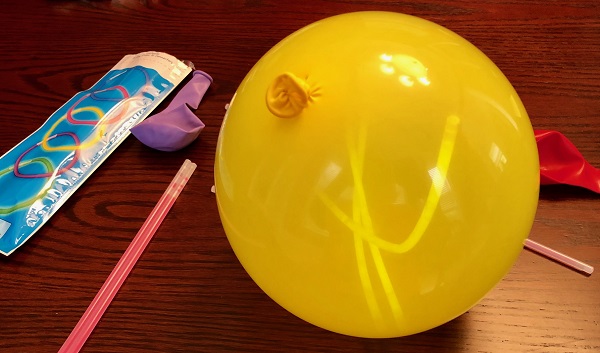
Maker Monday: Kids can make these glow-in-the-dark balloons

Maker Monday: Kids will love making the “mad scientist color wheel”
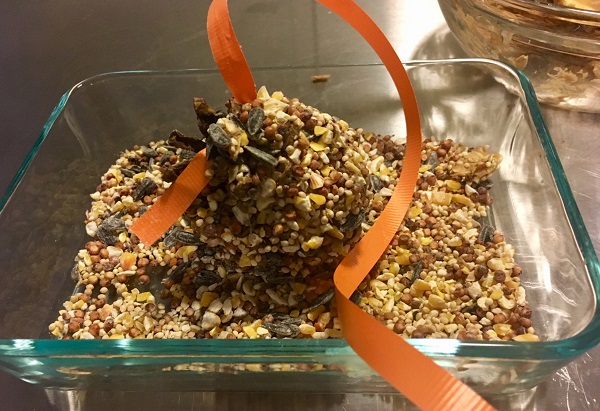
Maker Monday: Kids can make a pinecone bird feeder
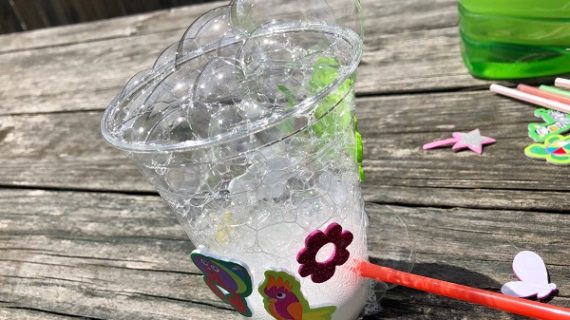
Maker Monday: Kids can create a homemade ‘bubble machine’
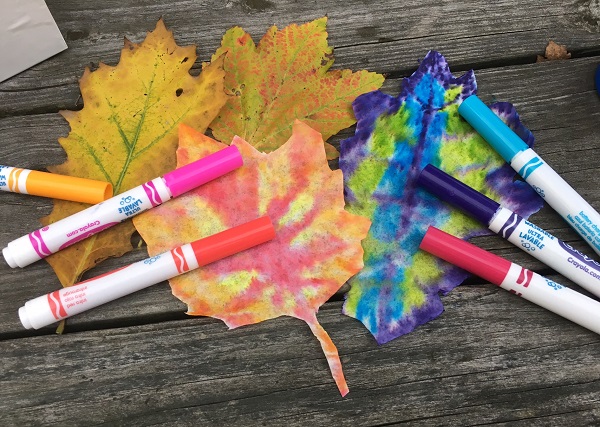
Maker Monday: It’s easy to make beautiful ‘coffee filter leaves’
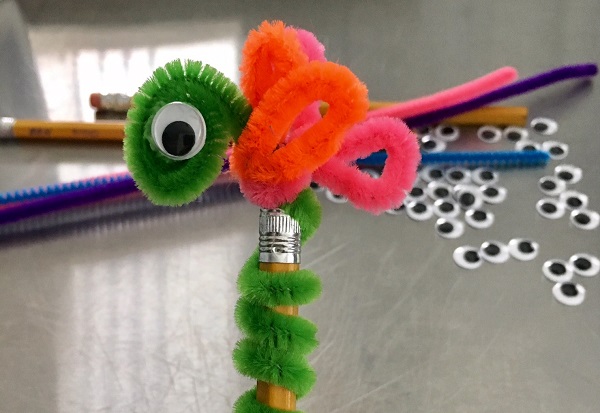
Maker Monday: Make these easy Pencil Topper Creatures
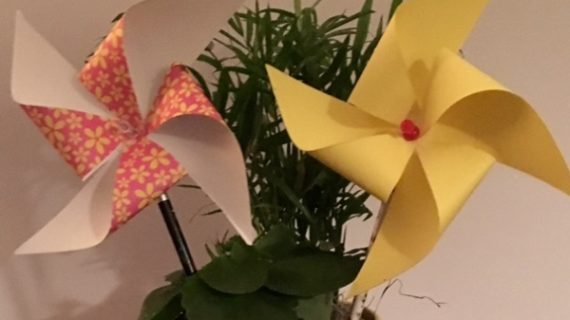
Maker Monday: Kids can make these beautiful pinwheels
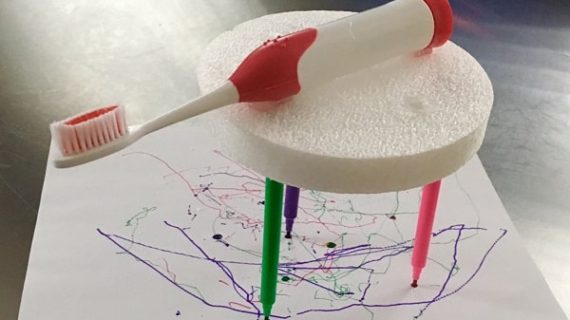
Maker Monday: Build a DIY robot that draws pictures!
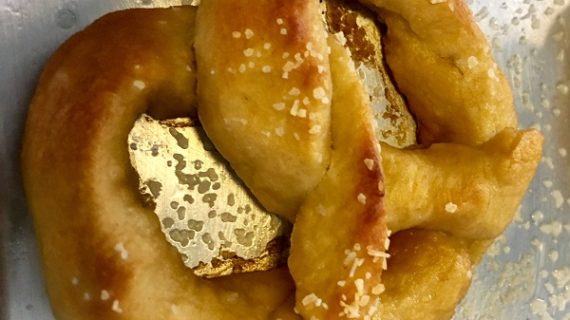
Maker Monday: Kids can make easy soft pretzels (and practice math along the way)
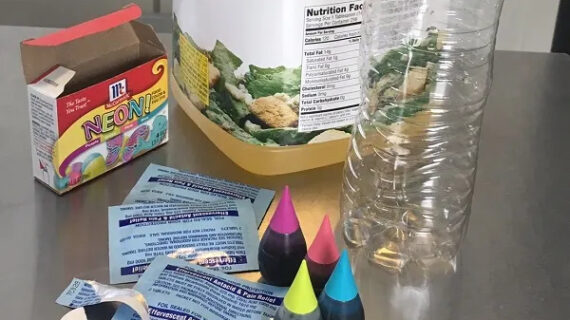
Maker Monday: Create a DIY “lava lamp”
