Maker Monday: easy, beautiful friendship bracelets
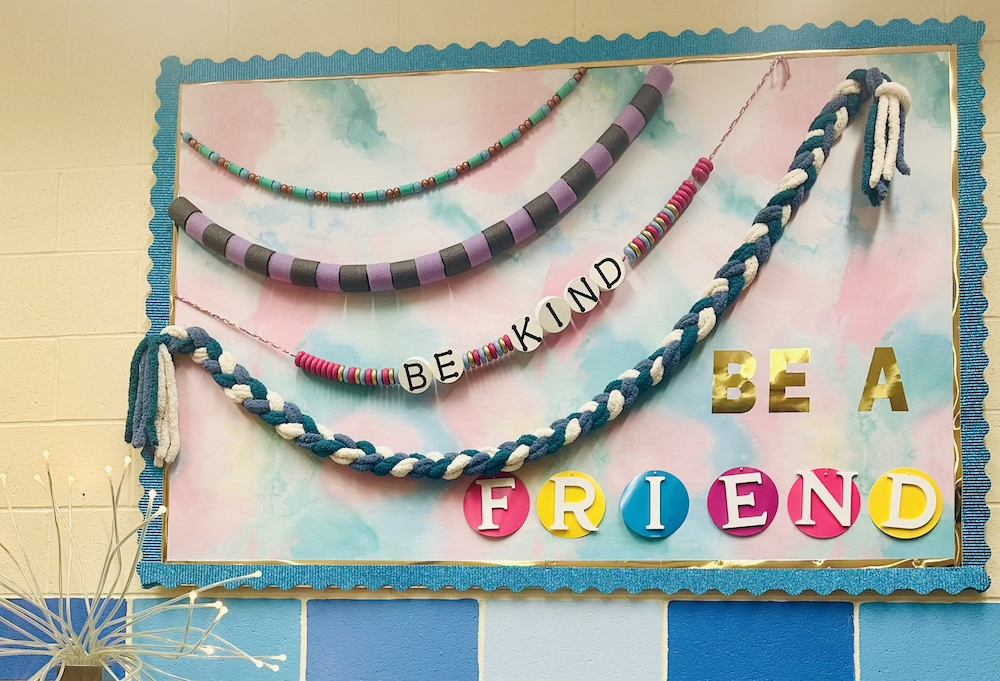
We’ve got more kindness for you again this week! Since mid-September, classrooms participating in the #bethekindkid Kindness in Action Campaign have been creating and sharing beautiful things: kindness initiatives, kindness-themed art installations and kindness-promoting maker projects. Here’s another kindness-themed Maker Monday project from classrooms around our region that have participated in the #bethekindkid Kindness in Action Campaign.
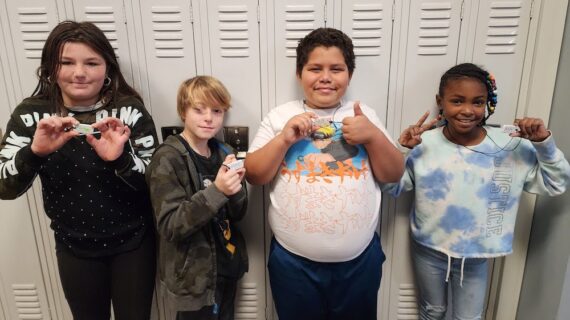
Today’s project comes from high schoolers at South Fayette School District.
“Have you ever thought about how tiny threads and a few colorful beads could make a world of difference?” South Fayette High School teachers Nicole Rekasie and Gary Smith asked their students. “Beyond being a fun and creative activity, making friendship bracelets is your chance to spread kindness, foster connections, and create a high school community that radiates positivity.”
Rekasie and Smith have shared all the details on how your kids can make their own friendship bracelets that carry big messages of friendship, inclusivity, and support.
“The best part,” they say, “is that you can experiment with different colors, patterns, and styles to make unique and personalized bracelets for your friends and yourself. Happy bracelet-making!”
As with all Maker Monday projects, this project can be done with supplies you may have around the house or can get inexpensively at a dollar store or big box store. A safety note to kid makers: Please work with a parent or caregiver on any Maker Monday project and always be very careful when using tools of any kind.
Maker Monday supplies you’ll need:
- embroidery floss or craft thread
- scissors
- decorative beads (optional: these add some extra flair to your bracelets)
- tape or a bead stopper (optional: can be helpful to secure the top end of your threads while you are working)
Maker Monday directions:
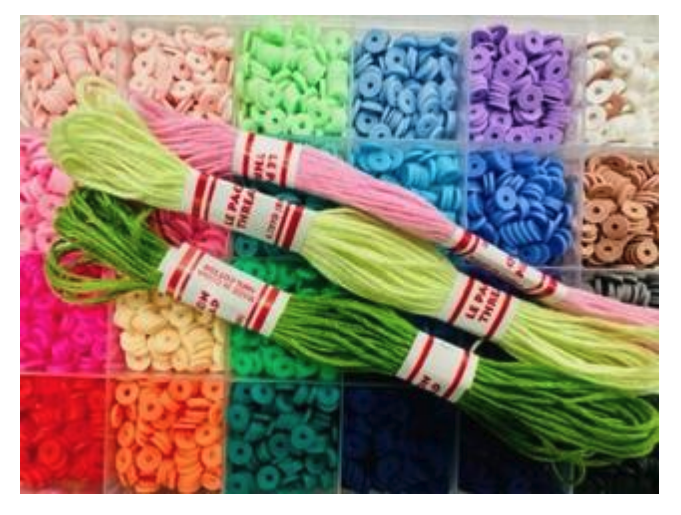
Step 1: Gather your materials. Choose the colors of embroidery floss and beads that you want to use for your bracelet. You can use multiple colors and bead patterns to make it unique.
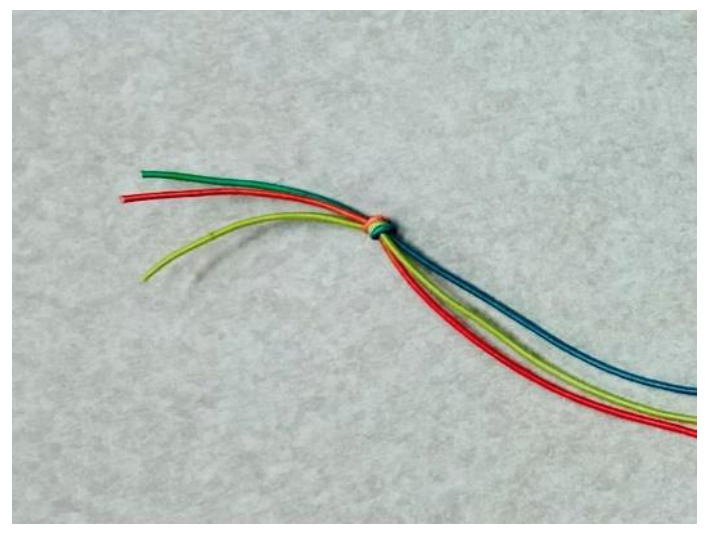 Step 2: Arrange the threads that you’re going to use. To do this, you’ll lay these threads side by side — making sure they are equal length. Then tie a knot at one end to secure the bracelet while you work.
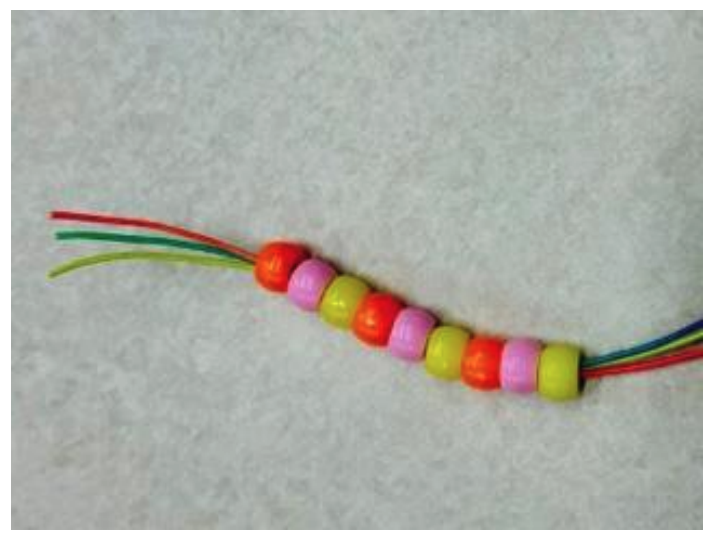
Step 3: Start beading. Add your first bead to the threads of embroidery floss and slide it down to the knot. Continue adding beads to the thread, creating your desired pattern.
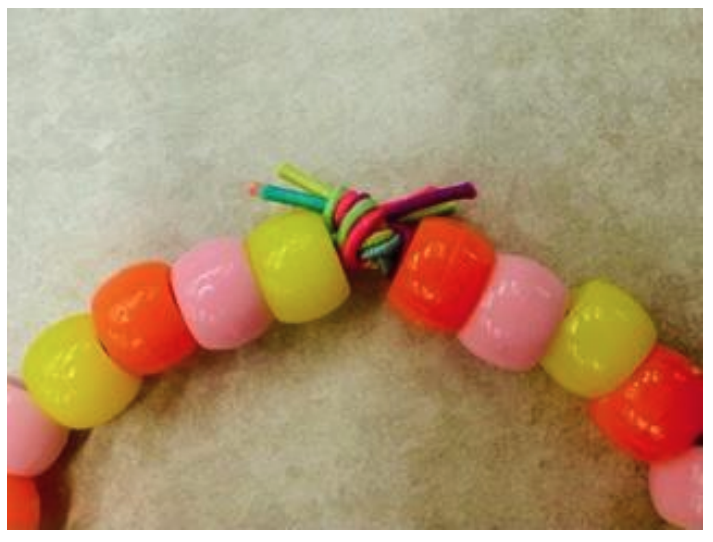
Step 4: When your bracelet is the desire length, it’s time to knot the bracelet to secure it. After adding your desired number of beads, tie a knot tightly to secure the beads in place. Trim any excess thread, leaving a small tail.
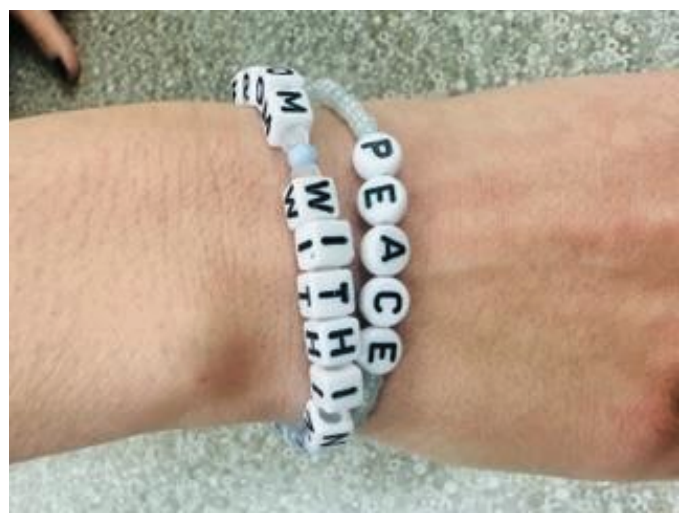
That’s it! You’ve created a beautiful beaded friendship bracelet. Feel free to get creative with different colors of thread or different bead patterns to craft personalized and stunning bracelets for your friends. Enjoy your creative journey!
To make more kindness-themed gifts? Check out these projects:
- Kindness domino necklaces from Northgate SD
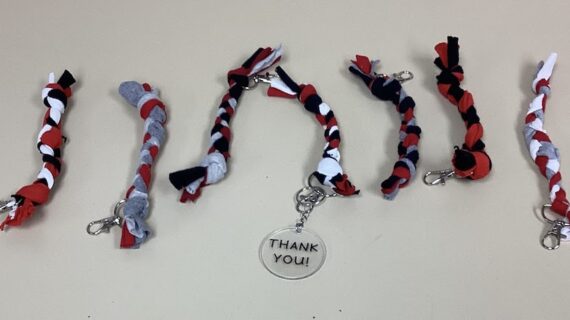
- Kindness keychains from Fox Chapel SD
Want more at-home fun making beautiful things? Check out more Maker Monday projects right here.
Do you have an idea for a Maker Monday craft project? If so, please share it with Kidsburgh! Send your maker activities to info@kidsburgh.org.
Topics
Related Stories
Maker Monday: Kids can make these lovely domino tile necklaces
Maker Monday: Kids can make these cool kindness keychains
Kindness in Action celebrations are happening at the Children’s Museum, JCC South Hills and in local communities
Maker Monday: Ms. P’s Pet Collection Poster
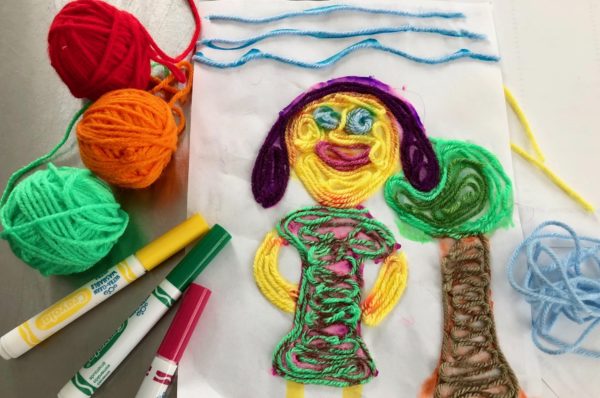
Maker Monday: Kids will love creating yarn art
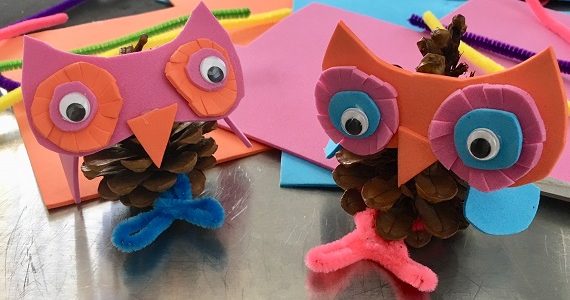
Maker Monday: Kids can make adorable pine cone owls

Maker Monday: Kids will love making the “mad scientist color wheel”
Maker Monday: easy, scented bath bombs
Maker Monday: Kids can make easy soft pretzels (and practice math along the way)
Maker Monday: Confetti Poppers
Maker Monday: Kids will love (and learn from) the Exploding Sandwich Bag experiment
Maker Monday: Kids of all ages can have fun with the ‘Amazing Milk Experiment’
Maker Monday: DIY scratch ‘n sniff paint
Maker Monday: Kids can make Monster Bookmarks
Maker Monday: Easy recipe for DIY glitter goop
Maker Monday: Create a DIY marker travel pack
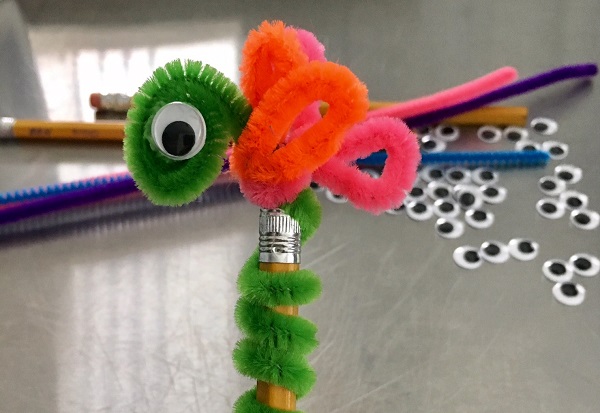
Maker Monday: Make these easy Pencil Topper Creatures
