Maker Monday: Let’s try making recycled candles
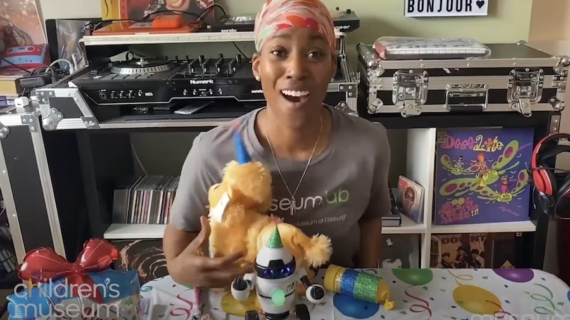
Happy Monday, Kidsburghers! Welcome to another fun and easy “Let’s Try” Maker Monday project, courtesy of our creative friends at the Children’s Museum of Pittsburgh. We’re glad to be kicking off another week by bringing you a free maker activity that your kids can do with items you likely have around the house.
This week’s project will teach your kids about upcycling — taking old items and putting in a bit of effort to turn them into something new. in this case, kids will learn to turn old, mostly used candles into lovely new ones. You’ll find all the details on materials and instructions right here, and you can follow along on the video below to learn each step.
A note to kid makers: Please work with a parent or caregiver on every project, including this one, and always be very careful when using tools of any kind. This is especially important on a project like this one, which involves using your stove.
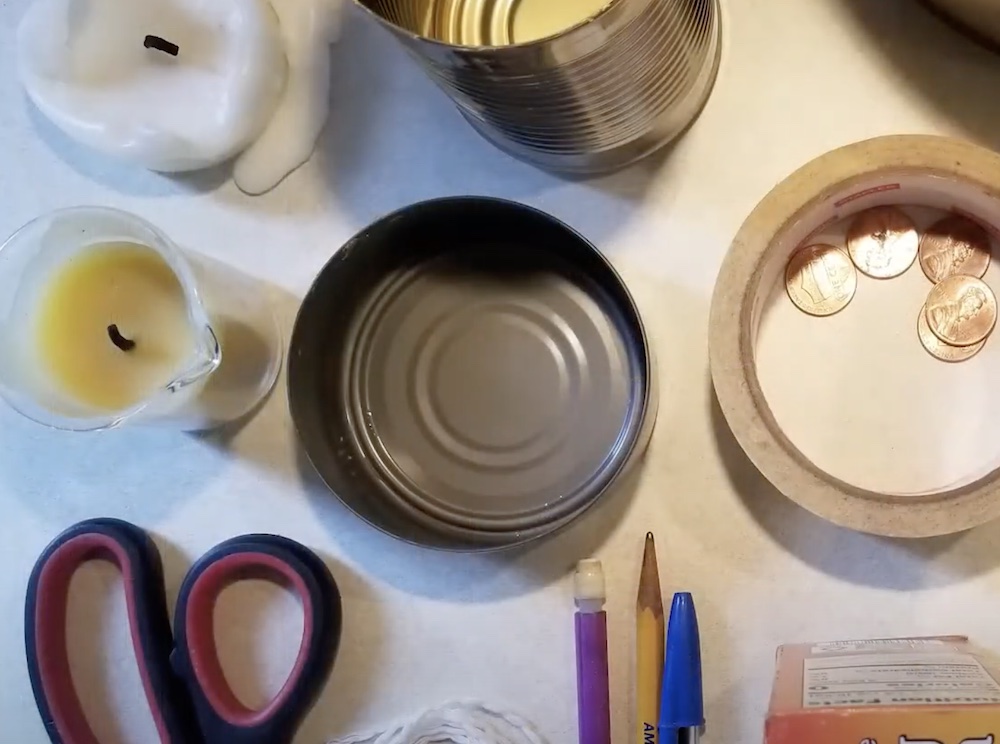
Maker Monday materials you’ll need:
- candle ends and scraps
- heat-resistant containers for your new candles (for example, one bean or tomato can and one tuna can)
- a cooking pot
- scissors
- undyed cotton twine
- a binder clip
- tape
- a penny
- a pencil
- baking soda and/or a fire extinguisher (just in case, for safety!)
Instructions:
- Collect candle ends and wax scraps in a clean metal can.
- Place the empty tuna can upside down in a cooking pot, then place the can of wax on top.
- Fill the pot with a few inches of water.
- The water line should come partway up the side of the can of wax.
- Bring the pot to the stove and turn it on low to melt the wax. (For safety, do this step with an adult and never leave melting wax unattended.)
- You want the wax to melt, but not get so hot that it boils. So keep the water temperature low to prevent the wax from boiling. Be patient — the wax will melt slowly. (Caution: Don’t let your wax get too hot, because if your wax boils it will become flammable. In the unlikely event of a fire, pour baking soda on the fire or put it out with a fire extinguisher. Never use water on a wax fire.)
- To create a candle wick, attach a binder clip to one end of the twine and dip the twine into the melted wax.
- Then dip it in cold water to harden the wax.
- Straighten the wick and roll it in a paper towel to dry.
- Attach the wick to the bottom of the container that will hold your candle using a drop of melted wax to secure one end and a penny to hold that end down.
- Lay a pencil over the container and wrap the top of the wick around it. This will position the wick straight down the center of your candle.
- Now, have an adult help you pour your liquid wax into your container ALMOST as high as you’ll want the candle to be. Be sure to save a little wax. (Definitely have an adult help here. Melted wax is hot and can burn you.)
- Leave your candle to cool and harden.
- Once the candle is firm, add a little more melted wax to the top of your candle to ensure a smooth, flat surface.
- When this new layer of wax has cooled and hardened, slide out the pencil and cut the wick to approximately 1/2 inch long.
Want more at-home fun making beautiful things? Check out more Maker Monday videos from Kidsburgh and the Children’s Museum.
Related Stories
Maker Monday, holiday edition: Let’s try making party hats!
Maker Monday: Let’s make “t-shirt yarn”

Maker Monday: How to make your own knitting loom and start knitting
Maker Monday: Let’s try collage!
Maker Monday: Let’s try making confetti poppers!
Maker Monday: Let’s try making a tassel garland
Maker Monday: Let’s try making “junk mail flowers”
Maker Monday: Let’s Try Building With Cardboard!
Maker Monday: Let’s try basic weaving (just follow this easy video)
Maker Monday: Let’s try tying knots to make a bracelet
Maker Monday: Let’s try quilling with this easy video
Maker Monday: Let’s Try Embroidery
Maker Monday: Let’s Try Making Origami Hearts (all you need is paper and scissors)
Maker Monday: Let’s try making our own watercolor paints from old markers
