Maker Monday: Let’s try making pop-up cards
Kidsburgh families, we’re glad to bring you another free maker activity — part of the “Let’s Try” video series, created by our friends at the Children’s Museum of Pittsburgh. This week’s project will teach kids to make pop-up cards from items you likely have around the house.
You’ll find all the details on materials and instructions right here, and you can follow along on the video below to learn each easy step.
A note to kid makers: Please work with a parent or caregiver on every project and always be very careful when using tools of any kind.
Maker Monday materials you’ll need:
- paper
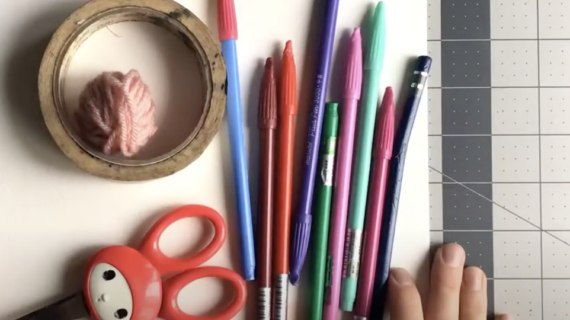
- markers and/or colored pencils
- scissors
- glue stick
Instructions:
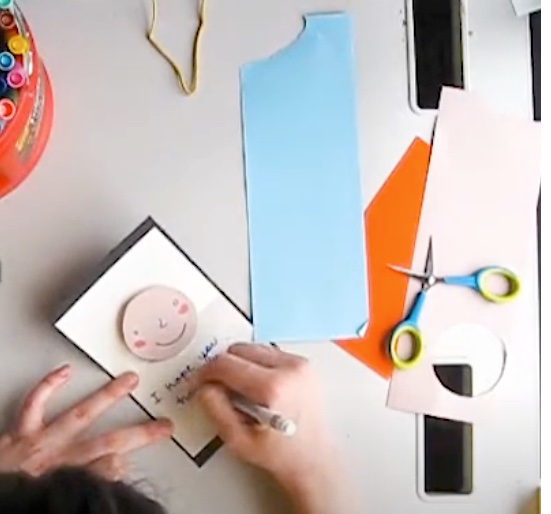
- Take two similarly-sized pieces of paper (one slightly smaller than the other) and fold them each in half.
- Cut two slits in the center of the folded side of the smaller piece of paper.
- Fold the cut section inwards, creating what looks like a small cube (see video).
- Cut out a shape or design from a separate piece of paper (this will be the part that pops up).
- Use your markers or colored pencils to add details to the design you cut out.
- Use your glue stick to attach your design to the small cube on the smaller piece of paper. (Quick tip: Make sure your design doesn’t get bent when you fold the paper closed.
- Glue the smaller piece of paper inside the larger piece of paper.
- Write a note in your card and give it to someone to brighten their day!
Want more at-home fun making beautiful things? Check out more Maker Monday videos from Kidsburgh and the Children’s Museum.
Related Stories

Maker Monday: How to create a homemade poetry card game
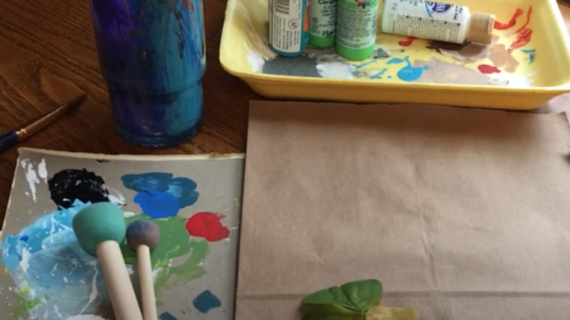
Maker Monday: Let’s make leaf print art
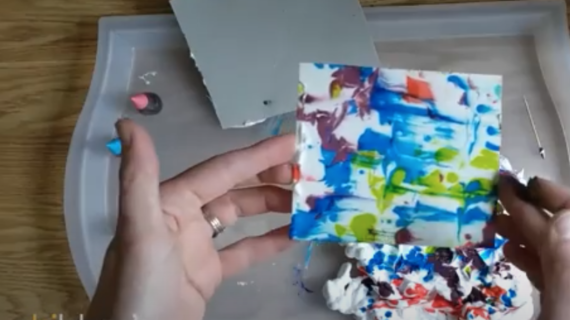
Maker Monday: Let’s make shaving cream prints
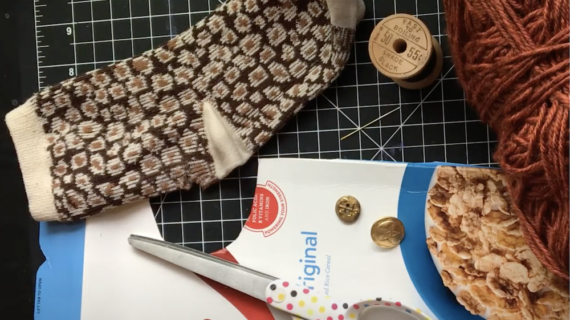
Maker Monday: Let’s try making sock puppets
Maker Monday: Let’s try making flower crowns
Maker Monday: Let’s try screen printing
Maker Monday: Let’s try making pennants
