
Maker Monday: Let’s make shaving cream prints
Welcome to another Maker Monday activity, Kidsburgh families!
We’re glad to bring you this free maker activity — a “Let’s Try” video, created by our friends at the Children’s Museum of Pittsburgh. This week’s project will teach kids to make colorful art prints with shaving cream and food coloring.
You’ll find all the details on materials and instructions right here, and you can follow along on the video below to learn each easy step.
A note to kid makers: Please work with a parent or caregiver on every project and always be very careful when using tools of any kind.
Maker Monday materials you’ll need:
- shaving cream
- food coloring
- a tray or plate
- cardboard or a ruler
- toothpicks or forks
- paper
Instructions:
- Shake up the shaving cream and dispense a layer onto your plate or tray.
- Use the food coloring to add drops of color on top of the shaving cream. (Quick tip: Add more colors for a more detailed print.)
- Use toothpicks (or forks to swirl the colors around the shaving cream.
- Place a sheet of paper on top of the shaving cream and GENTLY press down.
- Lift the paper to see how the colors have transferred onto the paper.
- Use a piece of cardboard (or a ruler) to scrape off the excess shaving cream.
- Lay the paper flat to dry. Then admire your work!
Want more at-home fun making beautiful things? Check out more Maker Monday videos from Kidsburgh and the Children’s Museum.
Related Stories
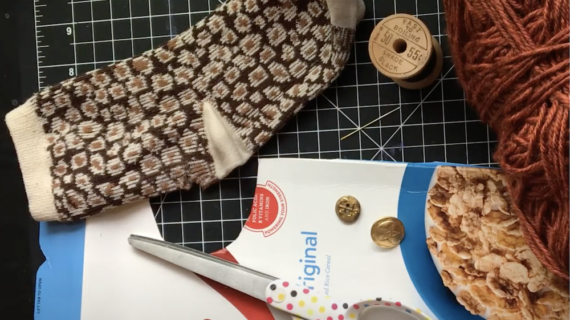
Maker Monday: Let’s try making sock puppets
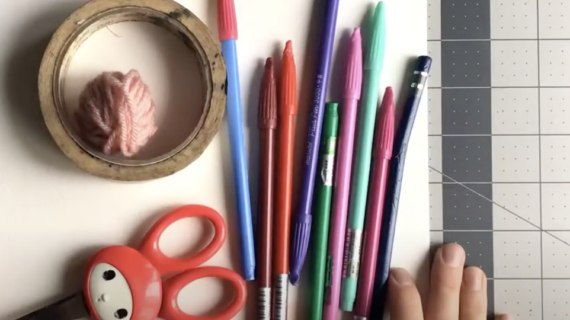
Maker Monday: Let’s try making pennants
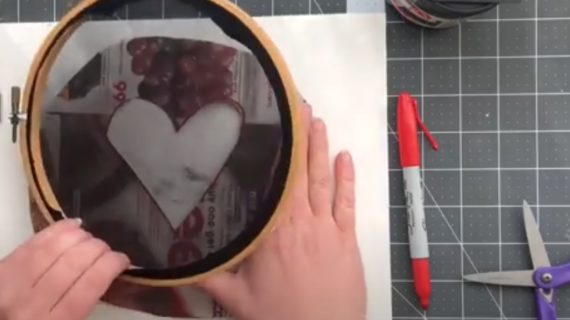
Maker Monday: Let’s try screen printing
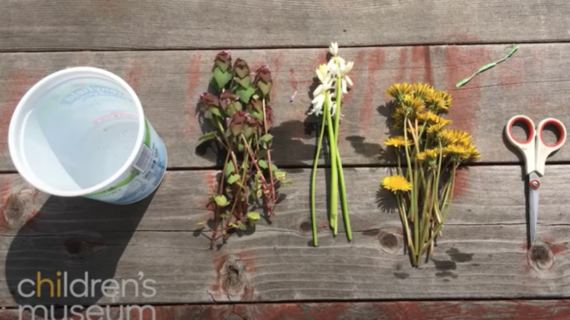
Maker Monday: Let’s try making flower crowns
Maker Monday: Let’s try ‘garbage gardening’!
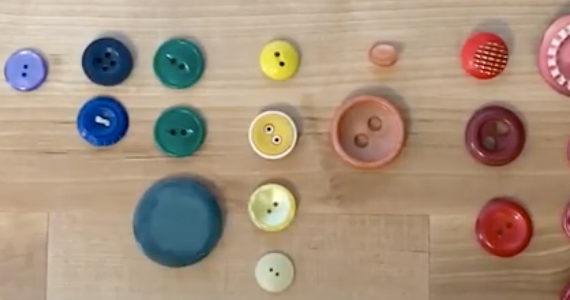
Maker Monday: Let’s try sorting
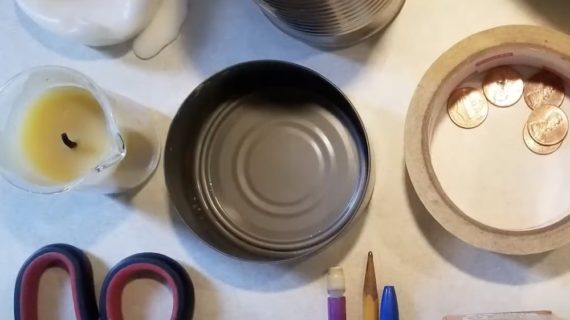
Maker Monday: Let’s try making recycled candles
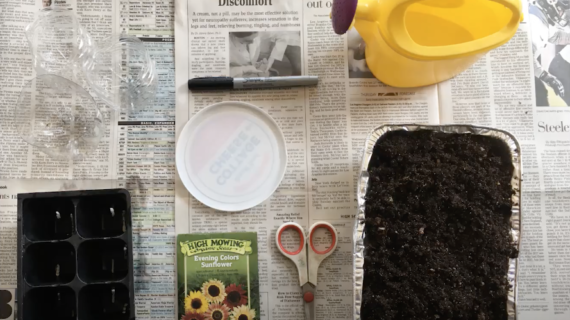
Maker Monday: Let’s try starting seeds
Maker Monday: Let’s try making “junk mail flowers”
