Maker Monday: Let’s make leaf print art
Happy Monday, Kidsburgh readers! This super-fun installment of our Maker Monday “Let’s Try” video series, created by our friends at the Children’s Museum of Pittsburgh, teaches kids to get creative with the beautiful leaves that have begun to fall.
In this free maker activity, kids will learn to make easy art prints with leaves they collect.
A note to kid makers: Please work with a parent or caregiver on every project and always be very careful when using tools of any kind.
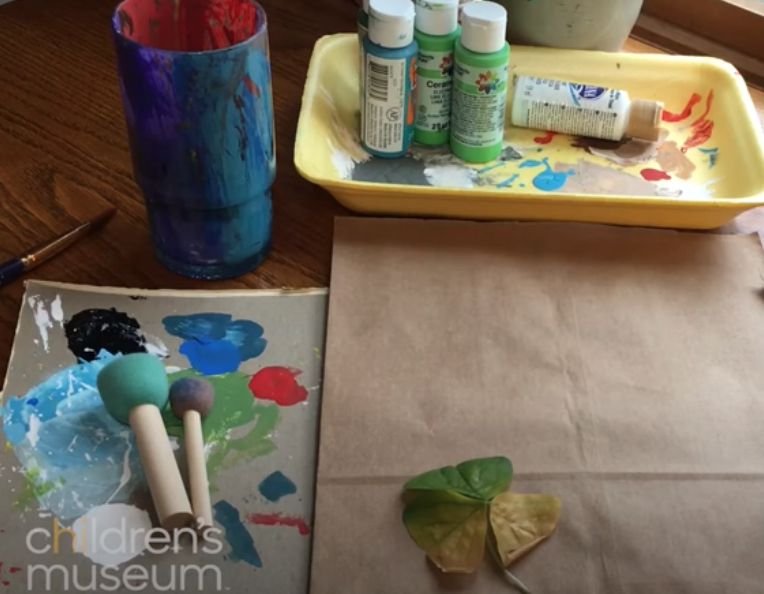
Maker Monday materials you’ll need:
- paper
- a bit of paint
- a sponge brush (or other small paint brush)
- a piece of cardboard or styrofoam tray
- a leaf
- a cup of water and a rag (just in case you need to clean up!)
Instructions:
- Find a leaf (or a few leaves) that you want to print with
- Choose a paint color and squirt some paint onto your cardboard or styrofoam tray
- Put the leaf down on your paper and use your brush to apply paint to one side of your leaf. (Quick tip: The more veiny or textured side of your leaf will make a more detailed print.)
- Be sure to get paint all around the entire leaf all the way to the edges.
- Lift your leaf off of the paper to reveal the outline you’ve created.
- If needed, apply more paint to the middle of your leaf before printing, so that it’s fully covered with a thin layer of paint.
- Then gently press the painted side of your leaf onto a different spot on your paper.
- Then lift your leaf off the paper to reveal your print.
- You can do this with several different leaves in different colors on one page. And once the paint is dry, you can draw additional designs on the page with crayons, pens or markers!
Want more at-home fun with arts and crafts? Stay busy throughout the fall and winter with more Maker Monday videos from Kidsburgh and the creative folks at the Children’s Museum.
Related Stories
Maker Monday: Let’s try screen printing
Maker Monday: Let’s try making pennants
Maker Monday: Let’s try making sock puppets
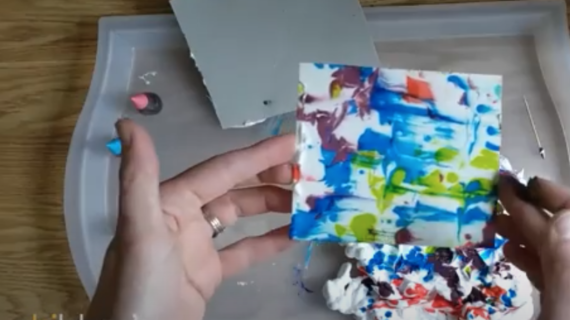
Maker Monday: Let’s make shaving cream prints
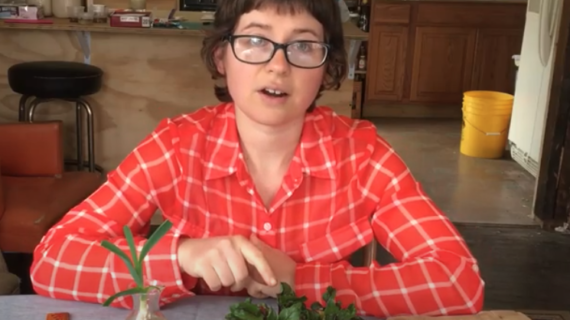
Maker Monday: Let’s try ‘garbage gardening’!
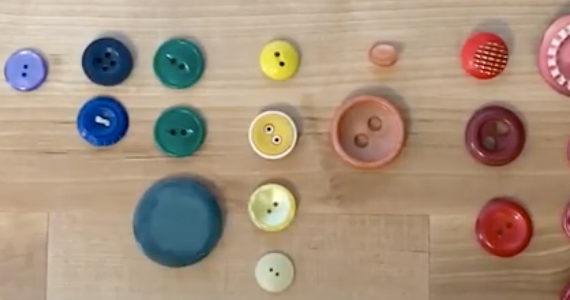
Maker Monday: Let’s try sorting
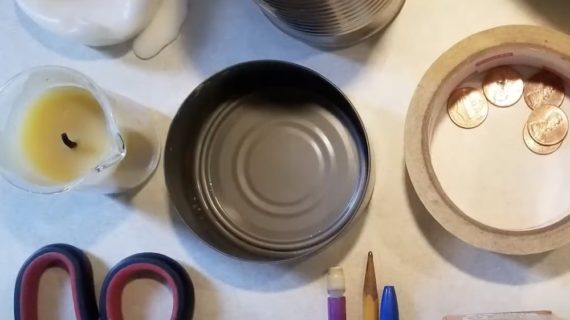
Maker Monday: Let’s try making recycled candles
Maker Monday: Let’s try starting seeds
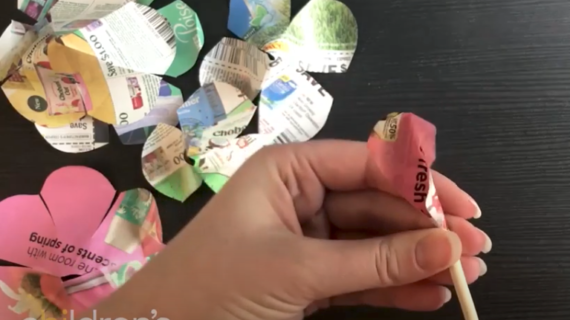
Maker Monday: Let’s try making “junk mail flowers”
