Home is where the art is: How to create your own makerspace
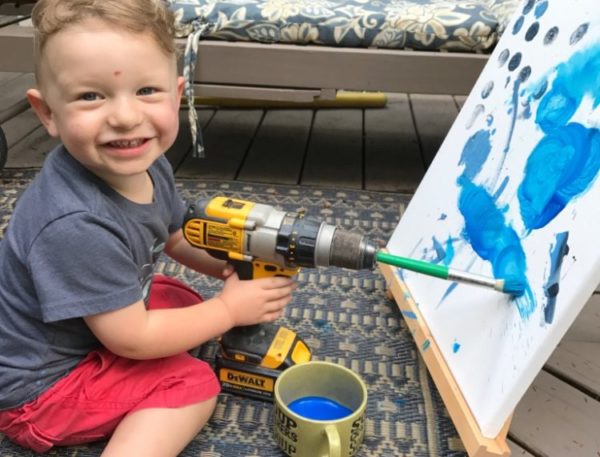
Above image: Shannon Merenstein’s toddler son paints with a brush attached to a drill, courtesy of Shannon Merenstein.
New makerspaces — where the DIY ethos of craft meets STEM experimentation — are popping up every day in schools, libraries and museums. But with the right tools and materials, you can create an inviting makerspace in your own home.
“If we want our children to grow into innovative thinkers and problem-solvers, the place to start is at home at the dining room table,” says Shannon Merenstein, the owner, creative director and lead educator at Hatch Art Studio in Point Breeze. “Children innately use art and making to express themselves and are generally in love with the process of constructing — and sometimes deconstructing — from a young age.”
Parents and teachers can encourage creativity by giving children a say in the tools they use, letting them explore materials in novel ways and allowing them to decide how long to work on a project.
The basic tool kit
While individual tool kits will vary based on a kid’s age and interests, there are some basics that no home creativity hub should be without: Quality drawing tools, like markers, crayons or colored pencils; watercolor paints; colored Washi or duct tape; a glue stick; sketchbooks or heavy paper like cardstock; and a modeling compound like Play-Doh, purchased or homemade.
“With these materials, you and your child can build and attach with tape, collage scraps of paper or fabric with the glue stick and scissors and created mixed media masterpieces with crayon and watercolor,” Merenstein says.
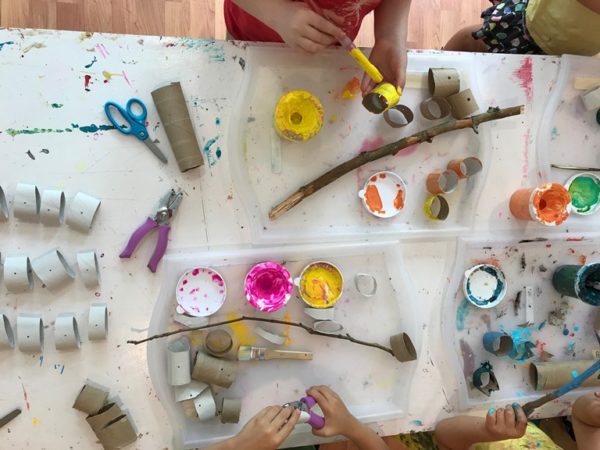
The dough is great for sculpting, but also makes a perfect blank canvas for a variety of textures. Rolling pins, toothpicks, cut-up straws, buttons, cookie cutters and stamps all make cool impressions. Chances are, you have at least half the items in your kitchen already.
Beyond the basics
For older kids or more advanced creators, include a glue gun, oil pastels, pipe cleaners and large beads for stringing or creating mobiles. And Merenstein encourages grown-ups to think outside the box — or maybe about repurposing a box — for surfaces on which to paint, draw and collage. Paper grocery bags and the underside of wrapping paper work well, too.
Though she sells washable favorites like quick-drying Chunkies paint sticks and Rain Dayz gel crayons at Hatch, Merenstein says her “absolute favorite thing to do is spend a couple of hours digging around” at Pittsburgh Center for Creative Reuse (PCCR) for paper, fabric and other “bits and bobs.”
Located just a mile from Hatch and around the corner from Construction Junction, the Center for Creative Reuse is a destination for eco-conscious makers of all ages.
Nora Gilchrist, the center’s creative education manager, says the benefits of hands-on making range from sharpening kids’ problem-solving and teamwork skills to keeping adults social, active and creative on the job.
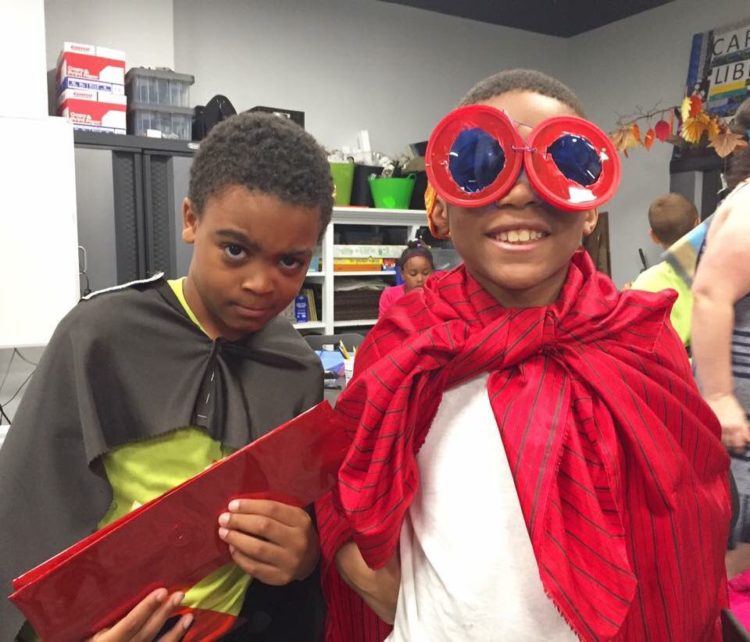
Gilchrist encourages parents to let kids experiment — supervised, of course! — with heavy duty tools like hammers and mallets, screwdrivers, hand drills, pliers and wire cutters. (A sturdy pair of safety goggles would be handy, too!)
Making art from SCRAP
“We have an acronym that helps us select the materials to use in our creative projects: SCRAP,” Gilchrist says. “It stands for Safe, Clean, Reclaimed, Age-appropriate and Playful.”
SCRAP materials may include plastic utensils, bottle caps, bubble wrap, used greeting cards, paint color samples, packing peanuts, sponges, rocks, shells, chopsticks, twist ties and corks — the possibilities are endless. For instance, dried out markers can be transformed into watercolors when the core is placed in water or rubbing alcohol. Broken necklaces and orphaned earrings can become the starting point for new jewelry creations. And a homemade drum can easily be assembled from a broken balloon, rubber band and coffee can.
Now … where to store it all?
Though it can be tricky to contain projects-in-progress, Merenstein has some tips for storage. She keeps supplies in an old cabinet with two low drawers accessible to her toddler son. The messier, collaborative materials like paints stay on higher shelves.
Pinterest offers a treasure trove of ideas — many featuring inexpensive carts like the IKEA Raskog. Individual categories of supplies can be stored in the kind of clear, plastic containers used for food leftovers. (All the better if the containers are repurposed!) The Dollar Store offers terrific bargains with low-cost storage options. Pick up a shower caddy for brushes and markers, for example.
“Pondering the creative potential of things like product packaging can be a real perspective-changing experience, one that will probably have you reusing a lot more, and reducing the amount of packaging you consume,” Gilchrist says. “As long as you’ve got base materials, materials for decoration and materials for connecting you should be good to go!”
Project ideas from Pittsburgh Center for Creative Reuse
- Use old binders to create dollhouses or birdhouses.
- Use clear CD jewel cases to create small greenhouses to start your seedlings and watch them sprout.
- Make wind chimes from old keys or bottle caps, string and a piece of wood, metal or a clothes hanger.
- Rubber bands, boxes and tins can transform very easily into string instruments.
- Make little cars using plastic containers, straws, dowels or sticks for axles and bottle caps for wheels. Make it go on its own using a rubber band!
- Turn old picture frames and sheer curtains into printing screens.
- Transform an old T-shirt into a tote bag.
- Make a rug out of old clothing or household fabrics, cut into strips and braided.
For more ideas, click over to the Kidsburgh Activities page, where you’ll find over 50 fun Maker Monday projects.
Tags
