
Maker Monday: Build a Rain Gauge
Spring officially starts on March 20. Now’s the time to build a rain gauge and have fun observing the changing season with this STEM — Science, Technology, Engineering, and Math — project.
Weather scientists measure how much rain has fallen using a rain gauge, but there’s no need for expensive equipment. You can make your own rain gauge using an empty water bottle. Be sure to have a grownup help with the box cutter.
This Maker Monday activity comes from Wendy Brenneman, manager of Early Childhood STEM Initiatives at Carnegie Science Center.
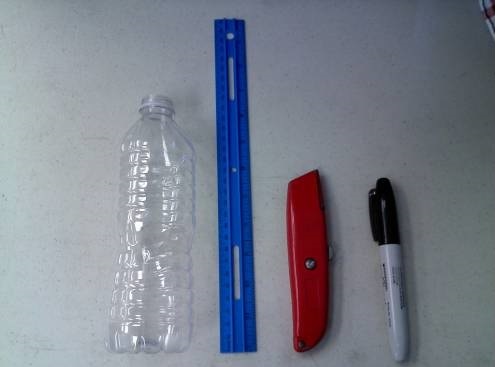
Supplies:
Empty water bottle
Ruler
Box cutter
Permanent marker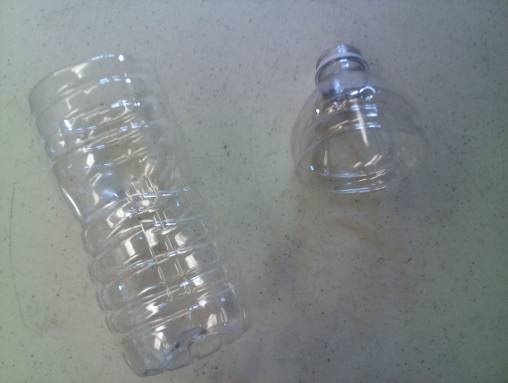
Using a box cutter or scissors, ask your adult to carefully cut the funnel-shaped top from a plastic bottle.
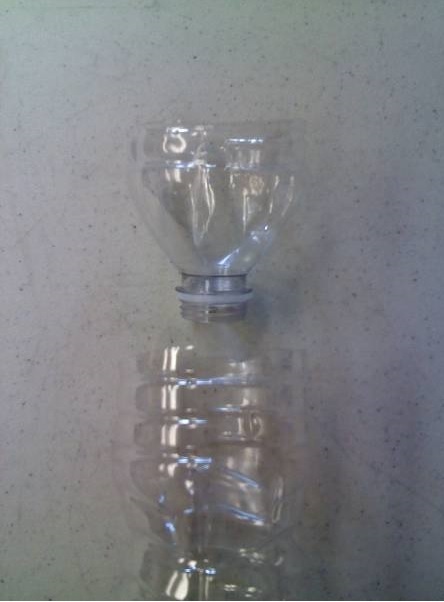
Invert the funnel-shaped top into the bottom of the bottle.
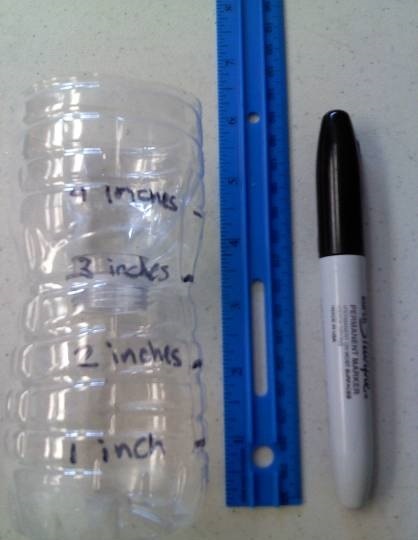
Using a ruler, mark your measurements in inches on the side of the bottle with a permanent marker.

Set your gauge outside to collect precipitation. You may want to tape or zip-tie your rain gauge to a heavy object or stake to hold it in place or it could blow away on a windy day.
Check your rain gauge each day to track how much rain we have received. Create a simple graph to track the changes in rainfall throughout the month.
For more Maker Monday projects and other fun ideas, visit the Kidsburgh Activities Page.
If you have fun craft projects your kids love, please share them with Kidsburgh! Send your maker activities to info@kidsburgh.org.
Tags
